Migrate Legacy Funds to IOTA Wallet
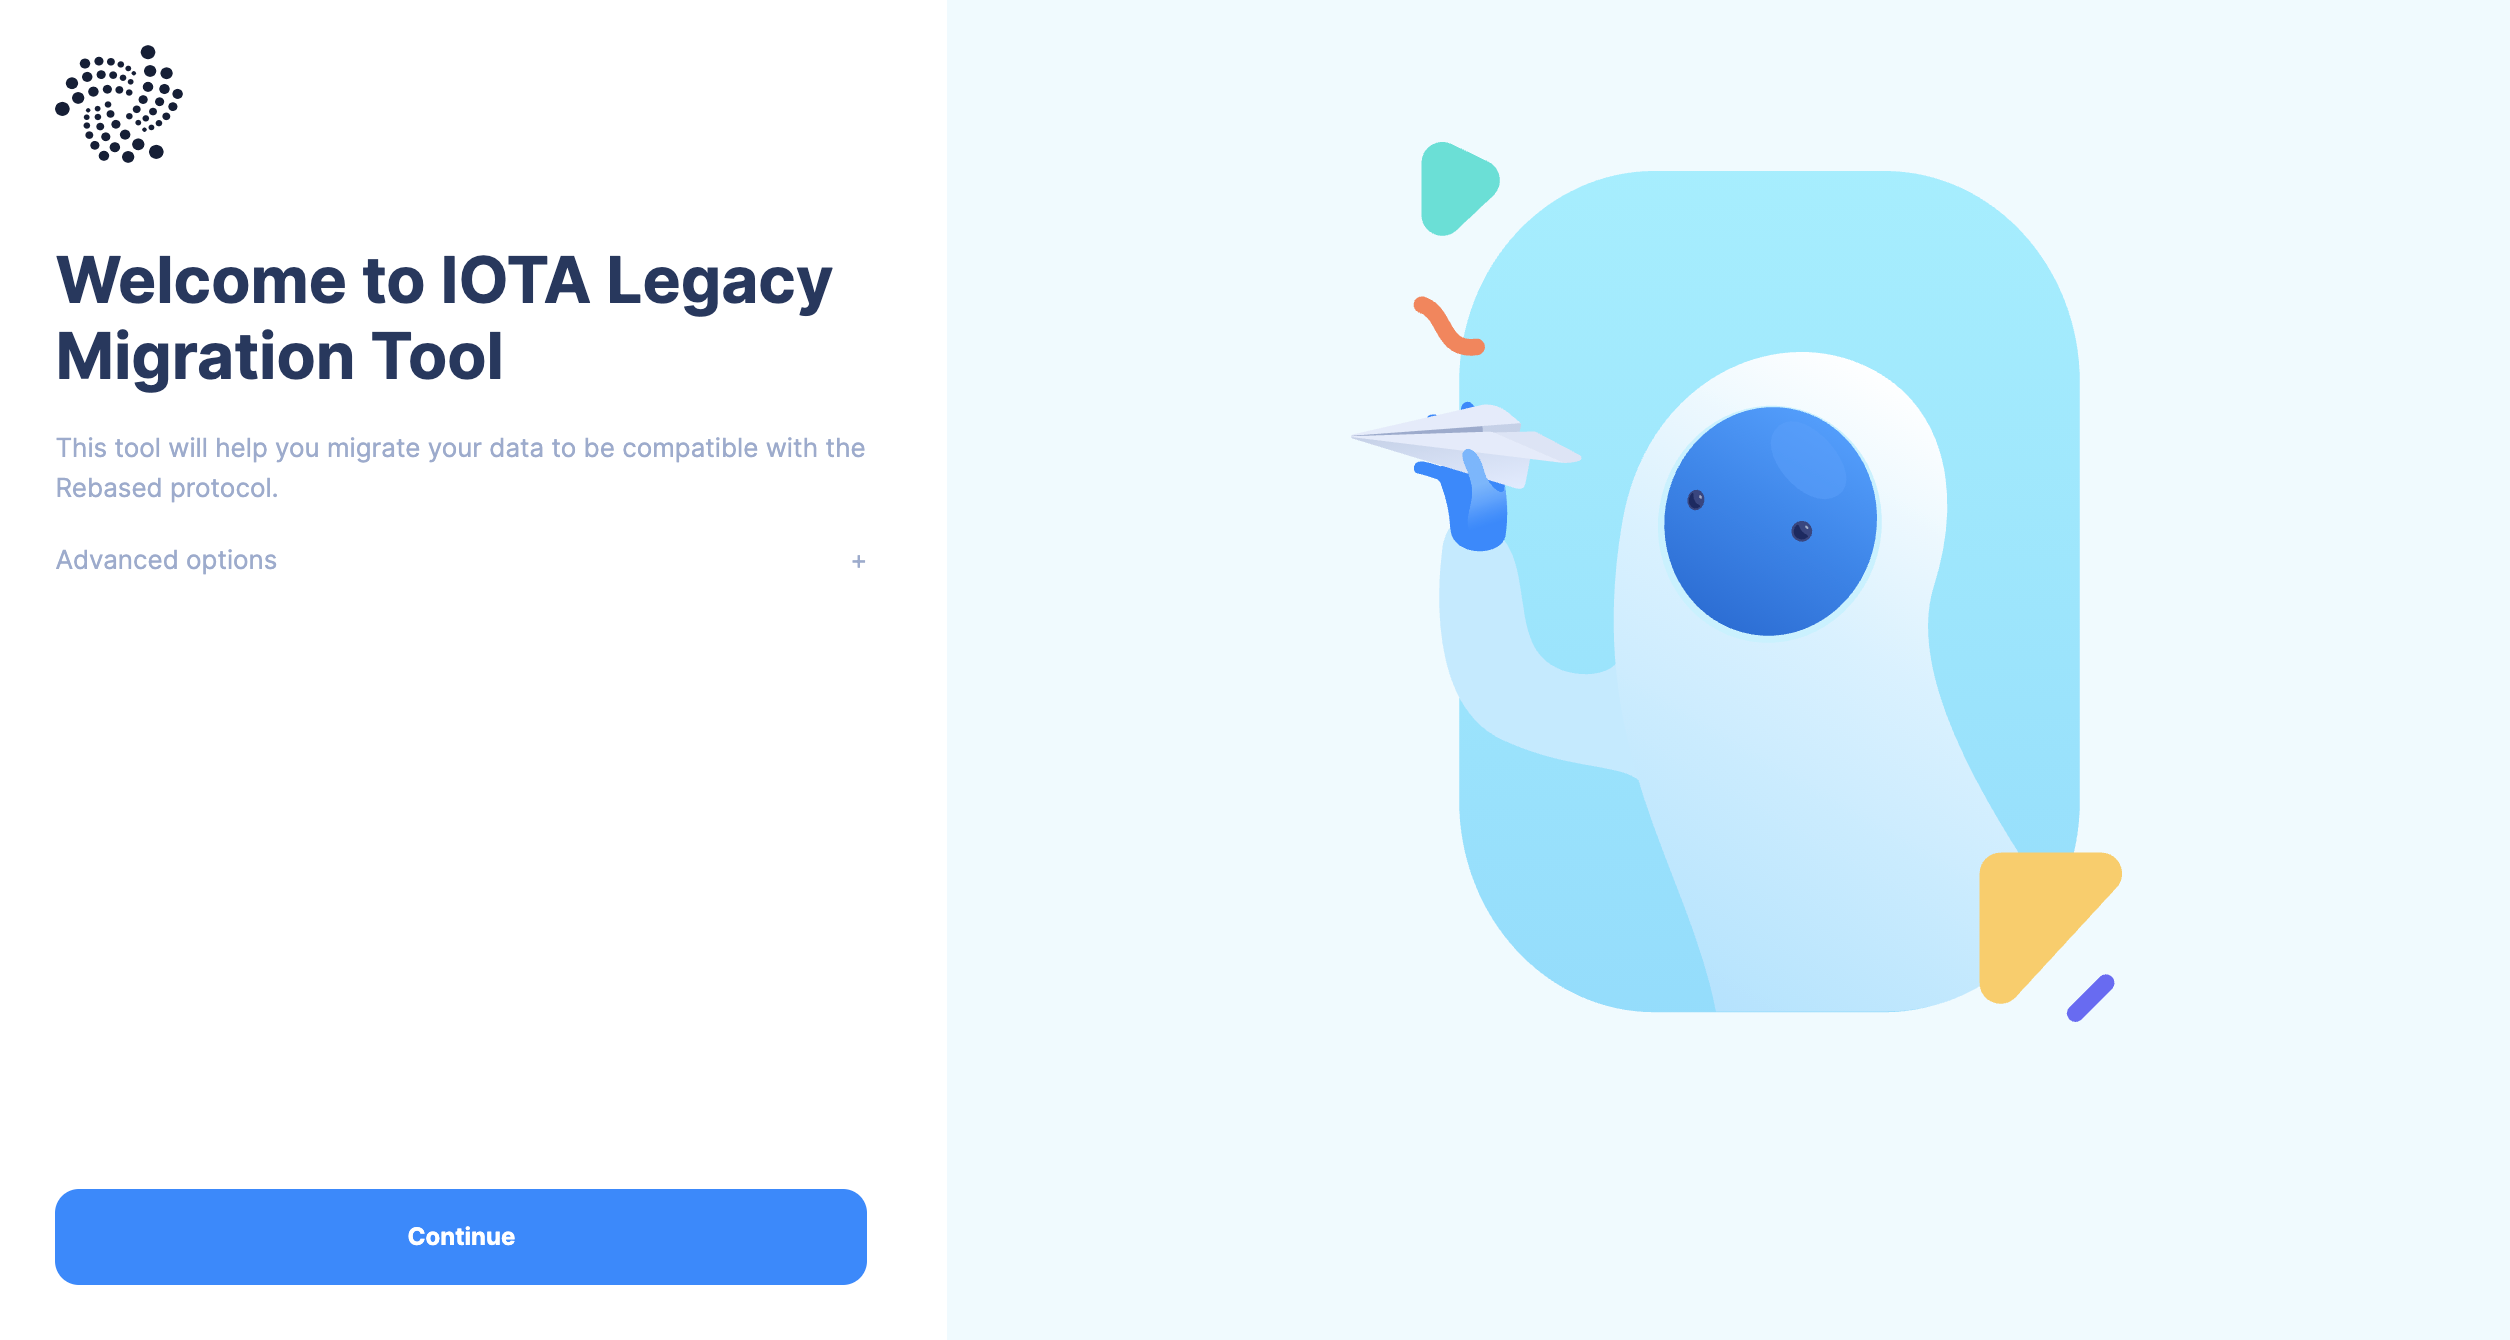
To migrate your legacy IOTA funds to the IOTA Wallet you first have to install the latest version of the IOTA Legacy Migration Tool.
Legacy funds are funds that were held in the Trinity Wallet. If you already used the Firefly Wallet this guide does not apply to you and you should use this guide instead.
- Open the IOTA Legacy Migration Tool
- Click on continue
- Select the type of import you want to use:
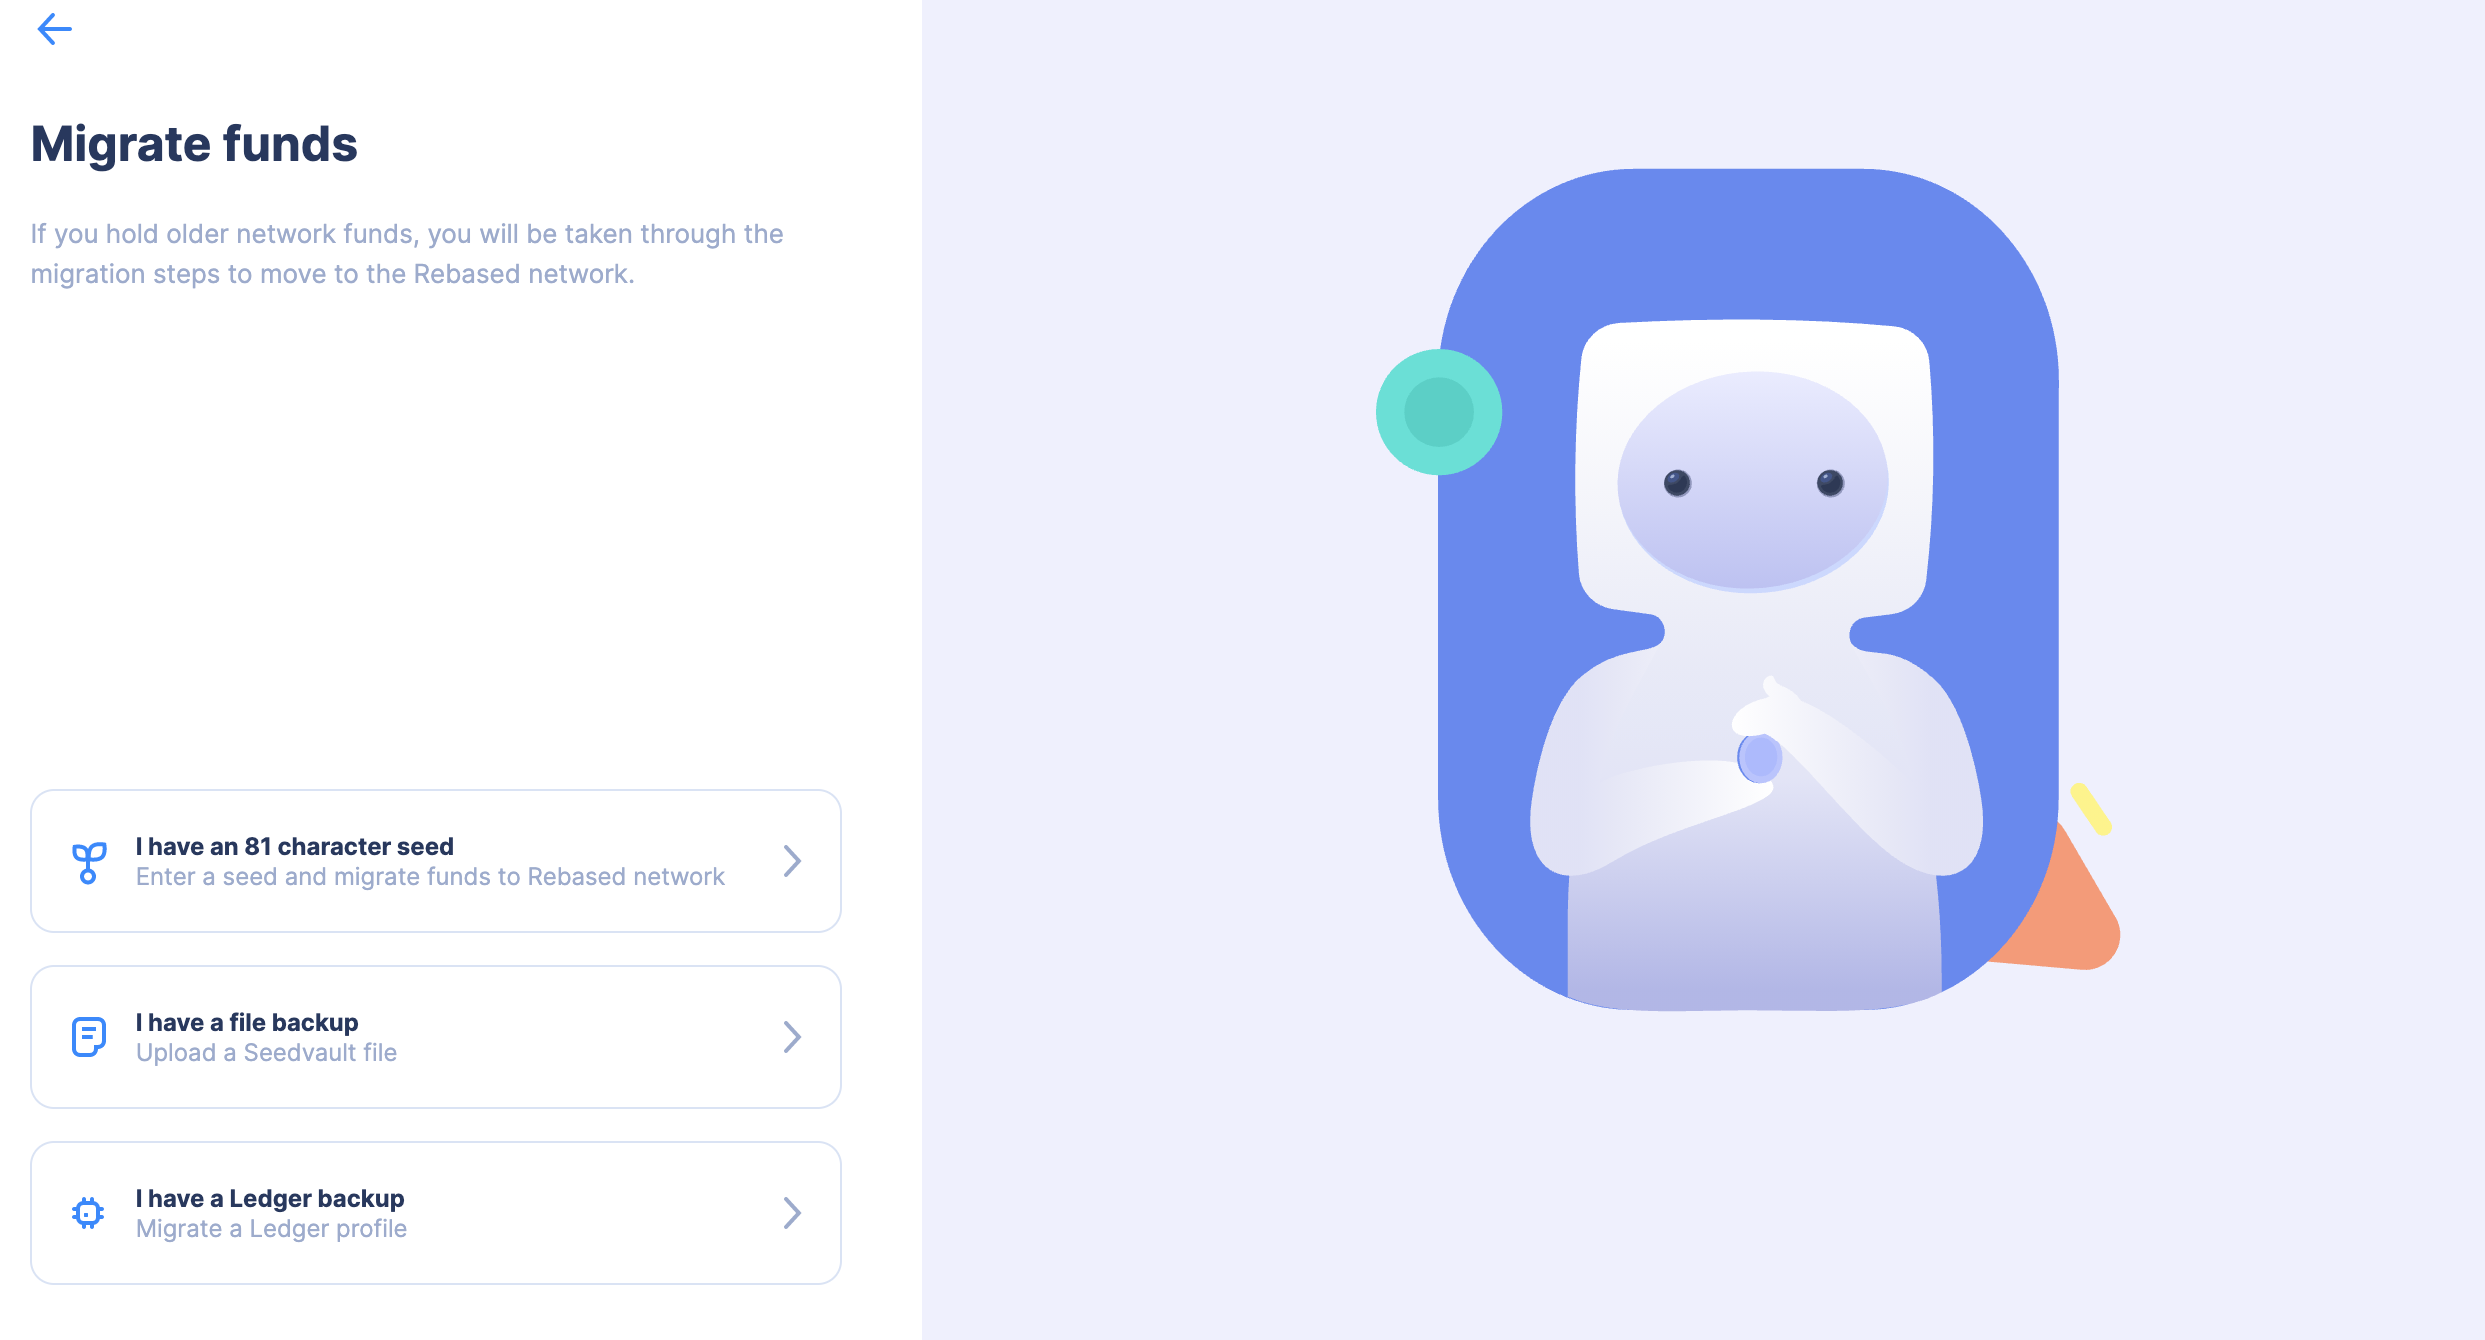
- Seed
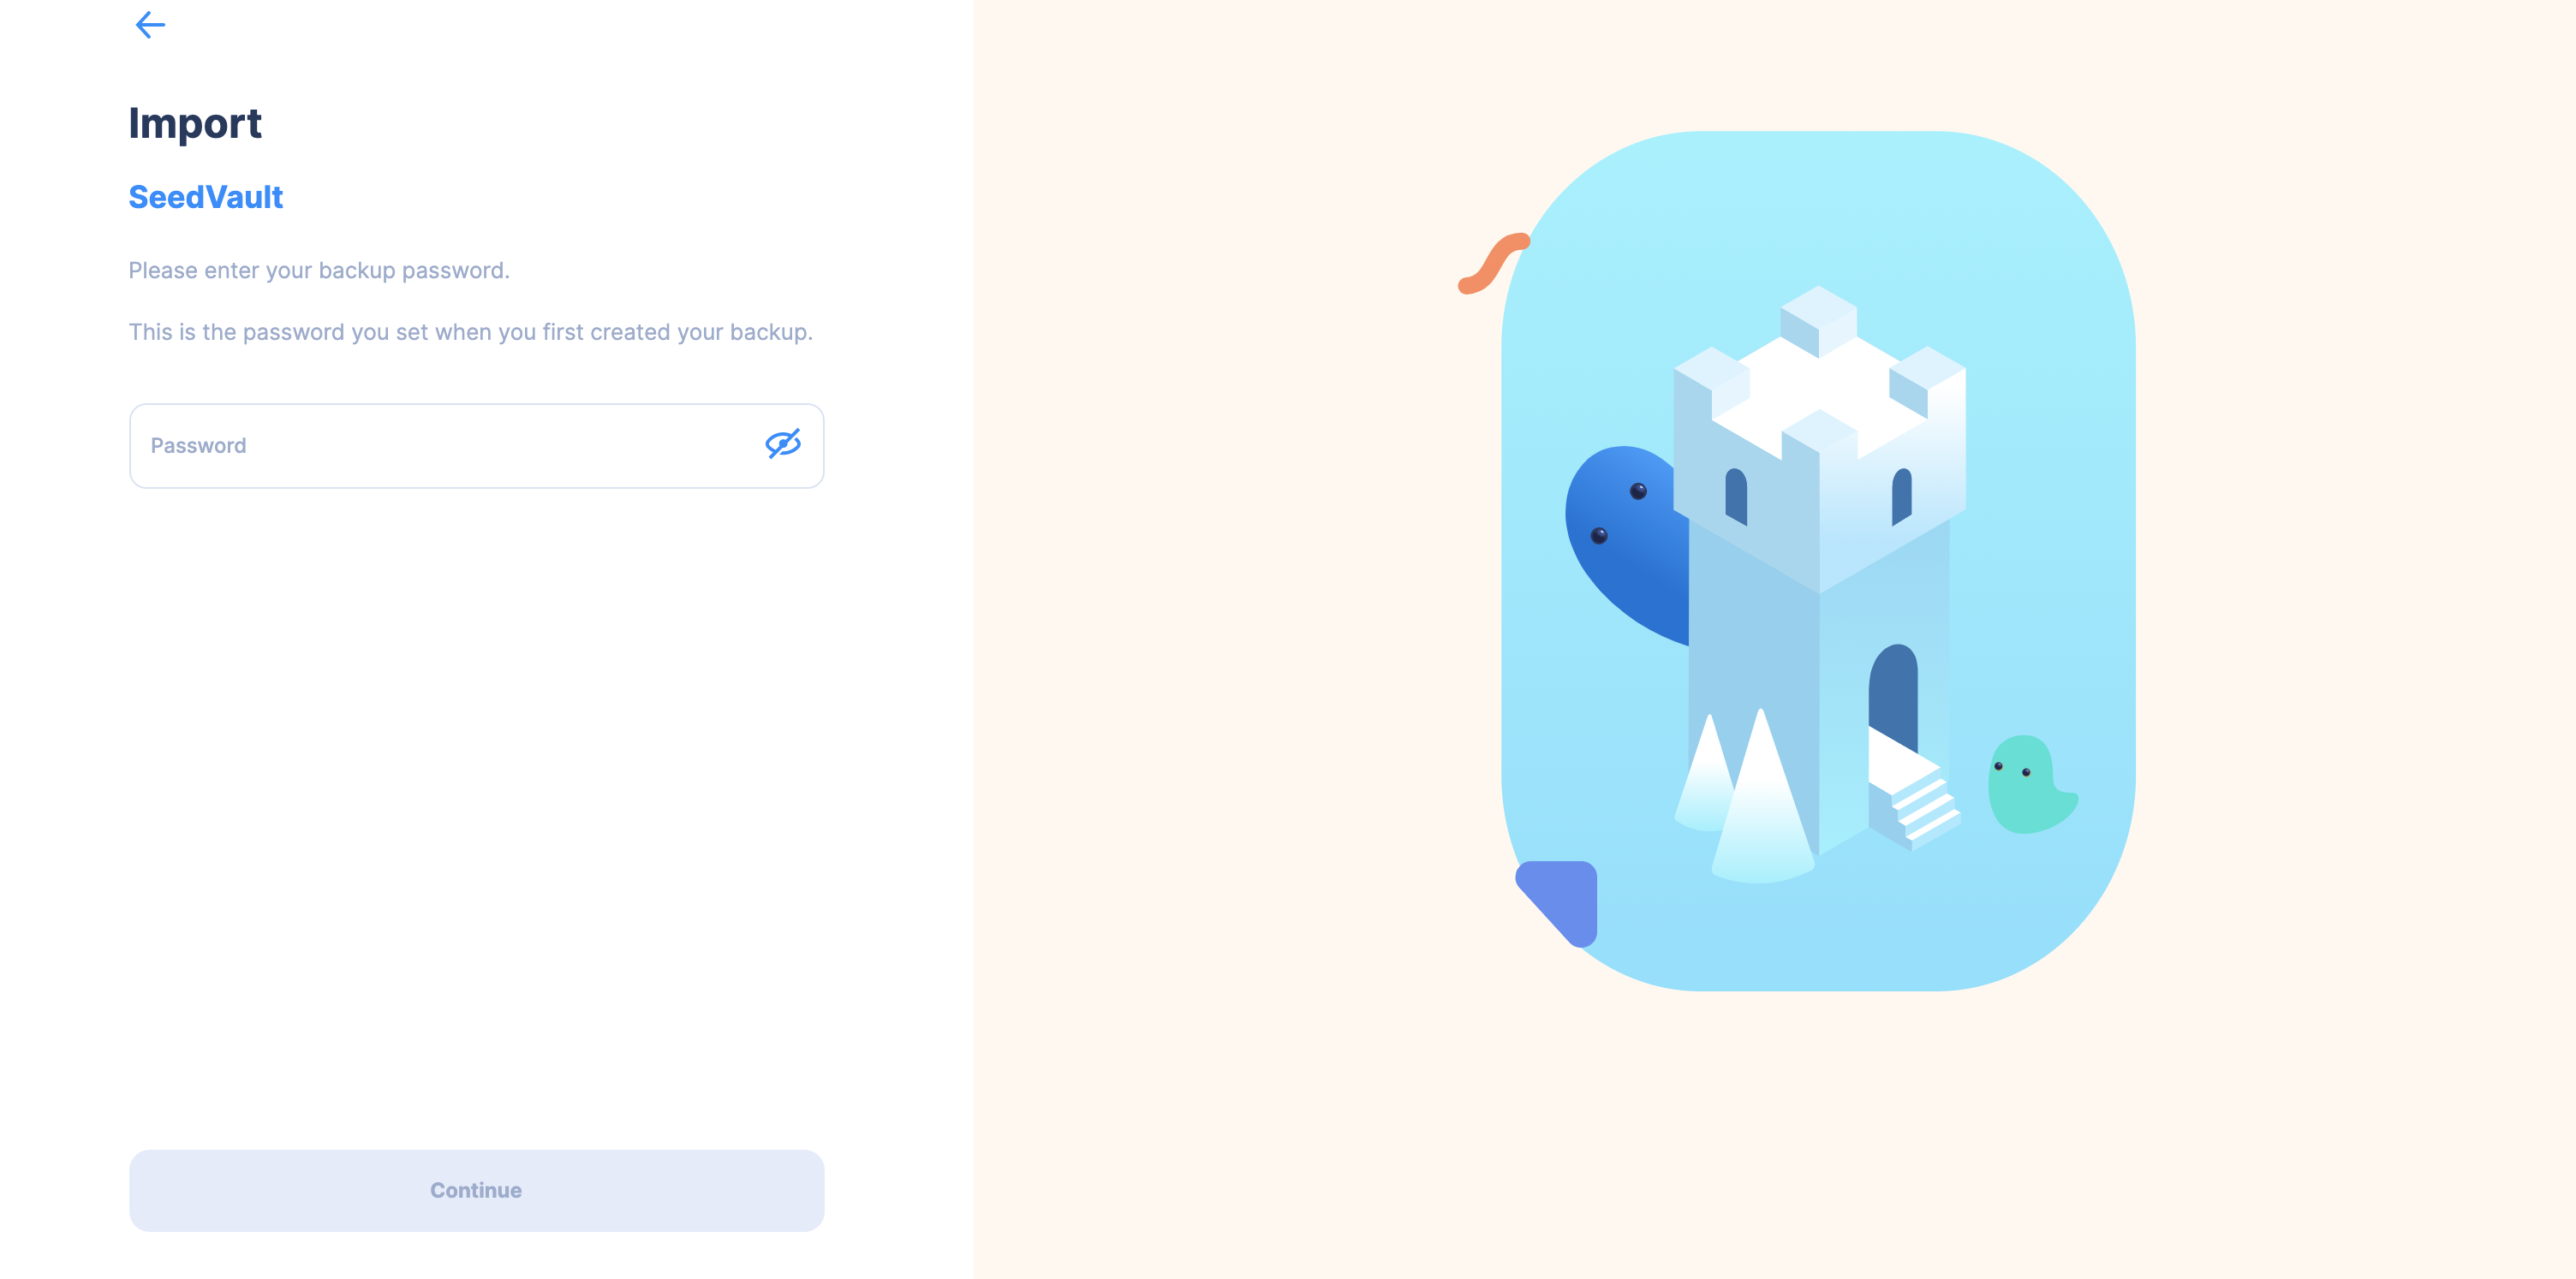
- SeedVault
- Ledger
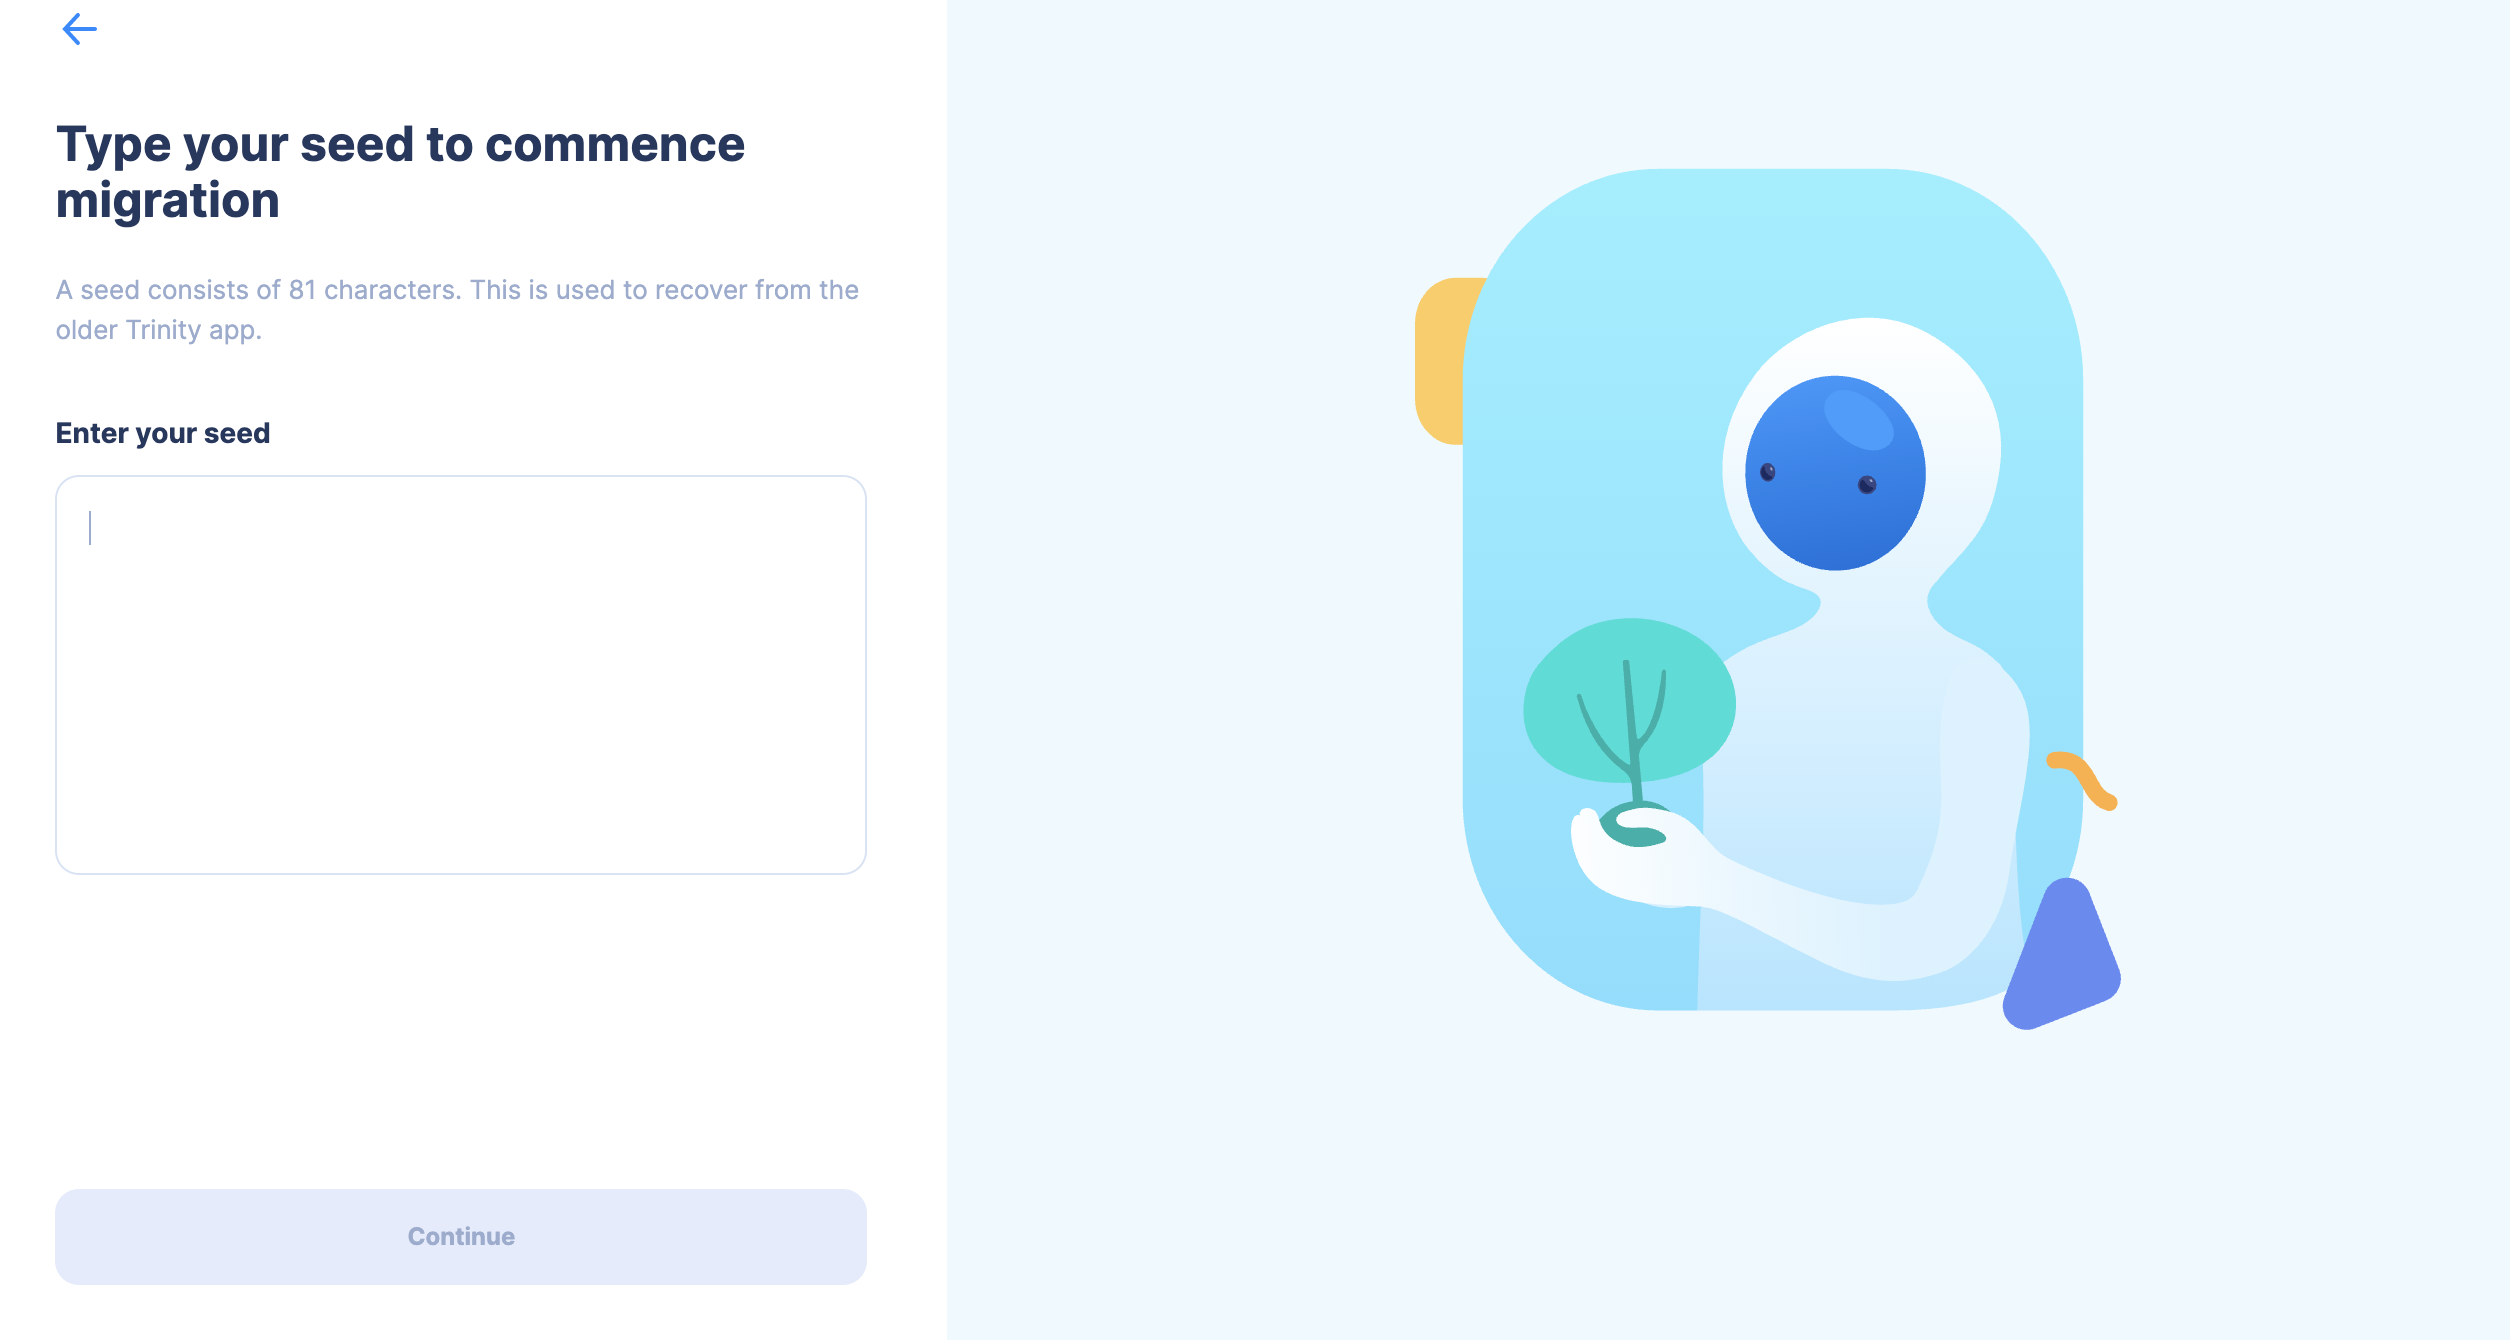
- Enter your legacy seed and press continue
- Drag and drop your SeedVault file or click to select it from your file system, then press continue.
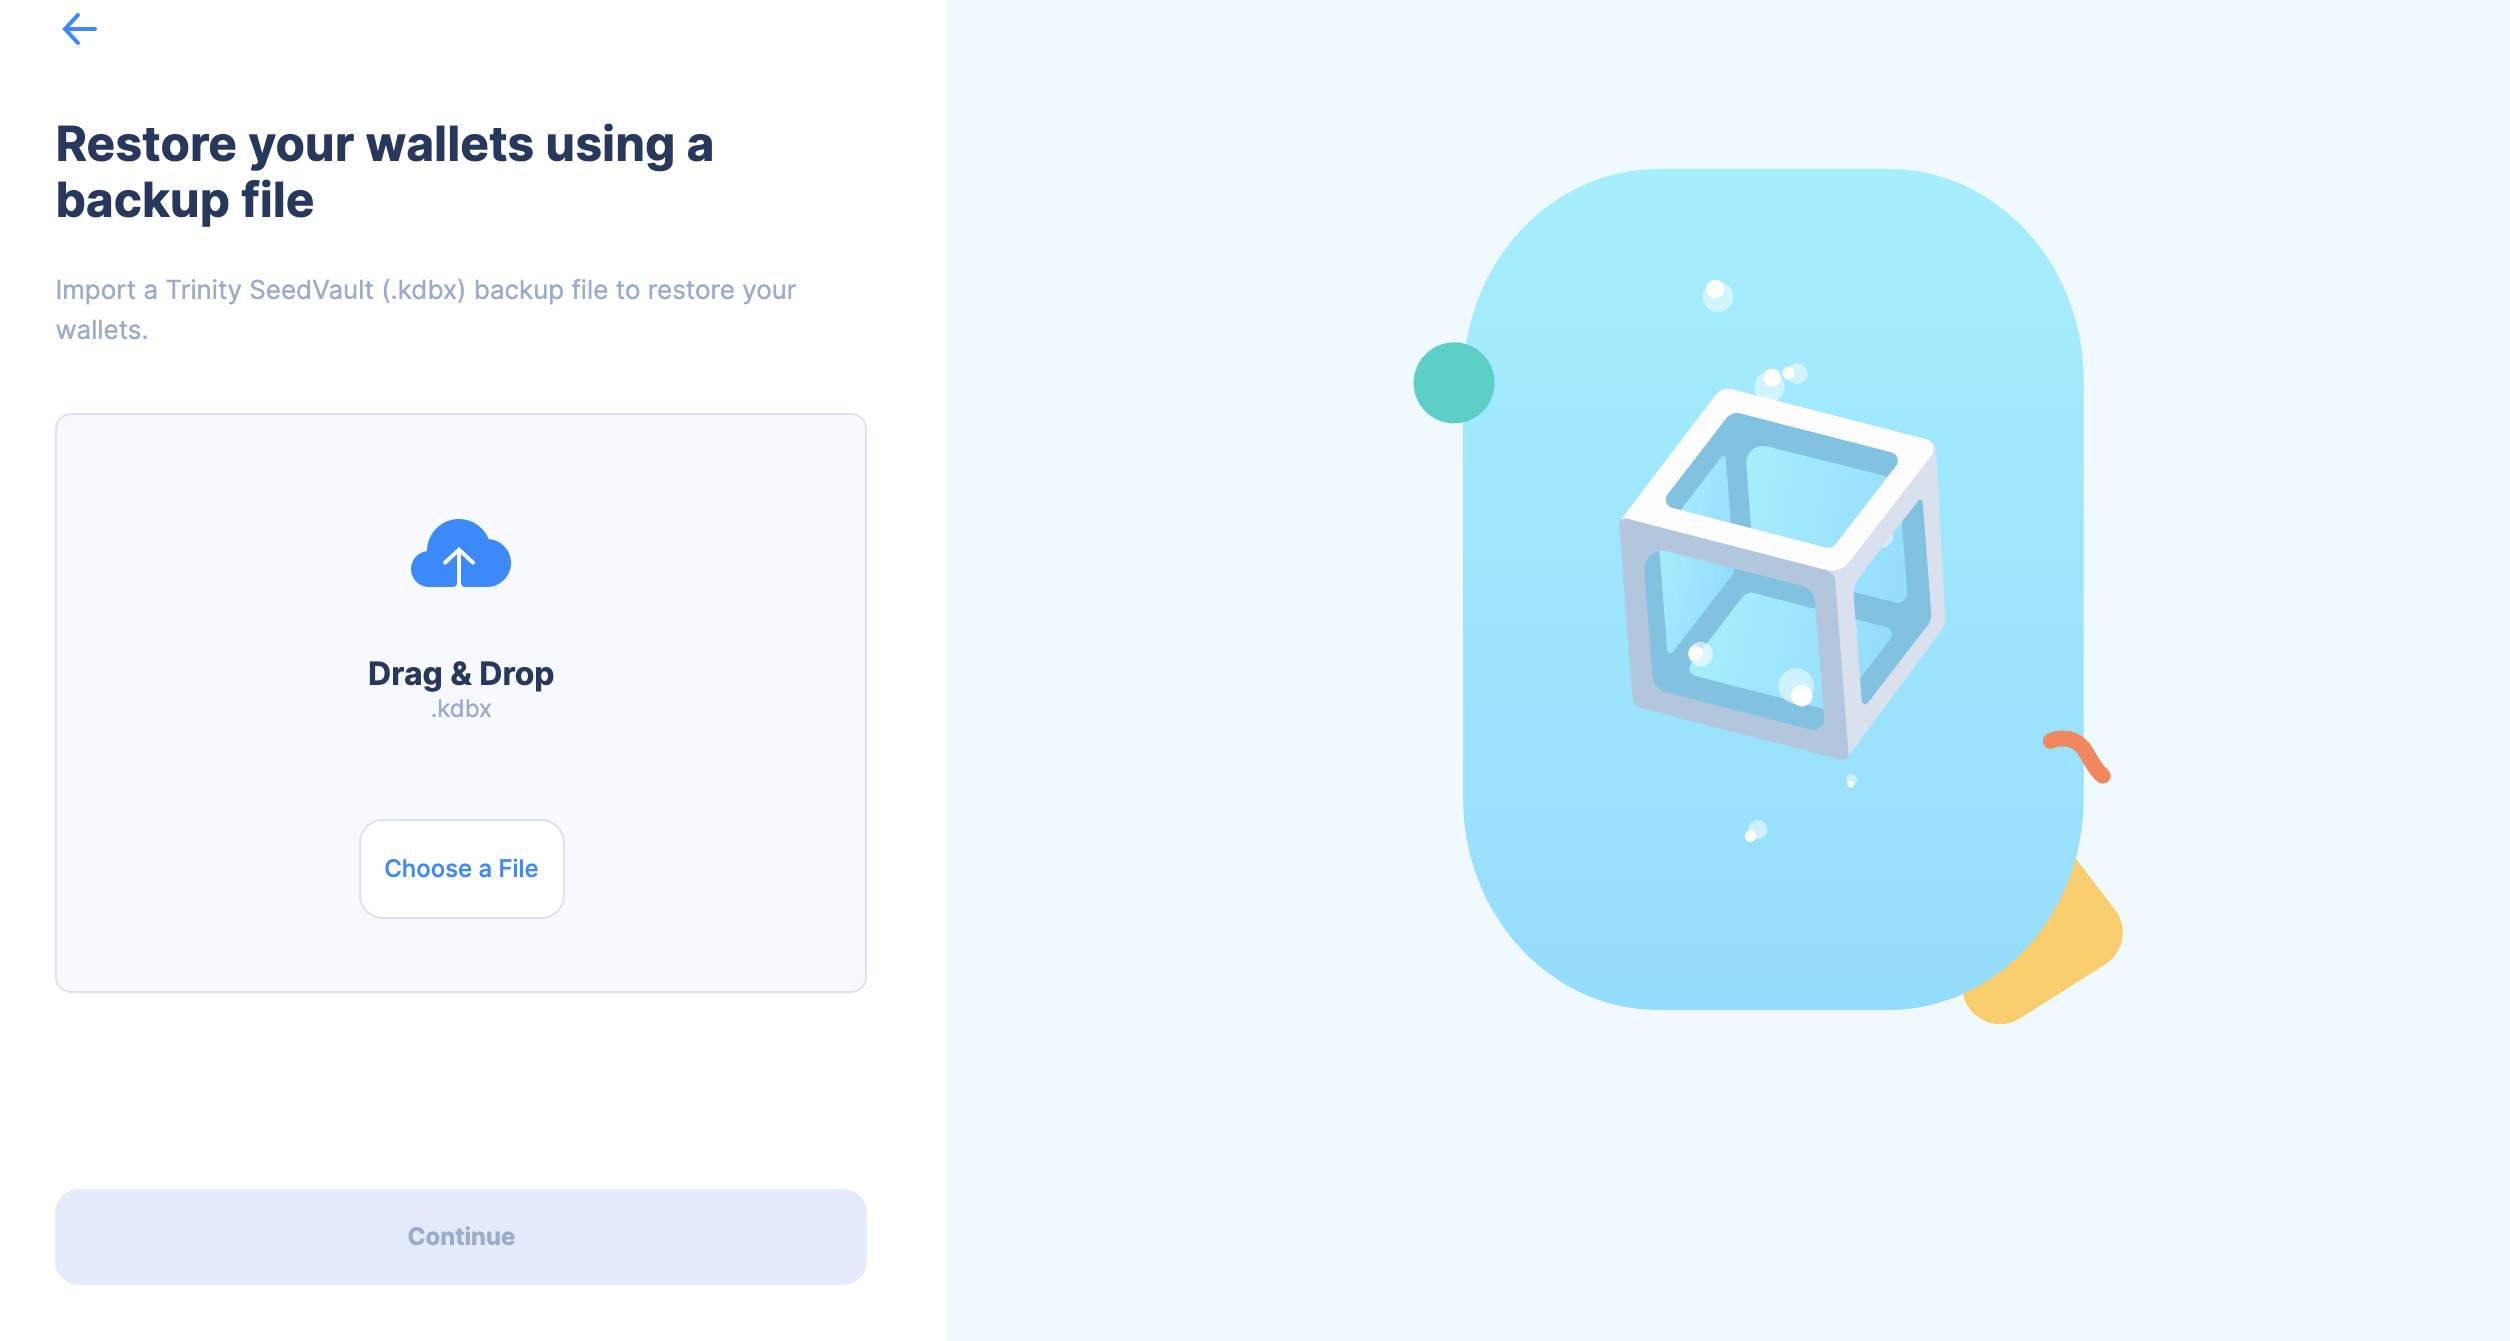
Enter your password for the SeedVault and press continue.
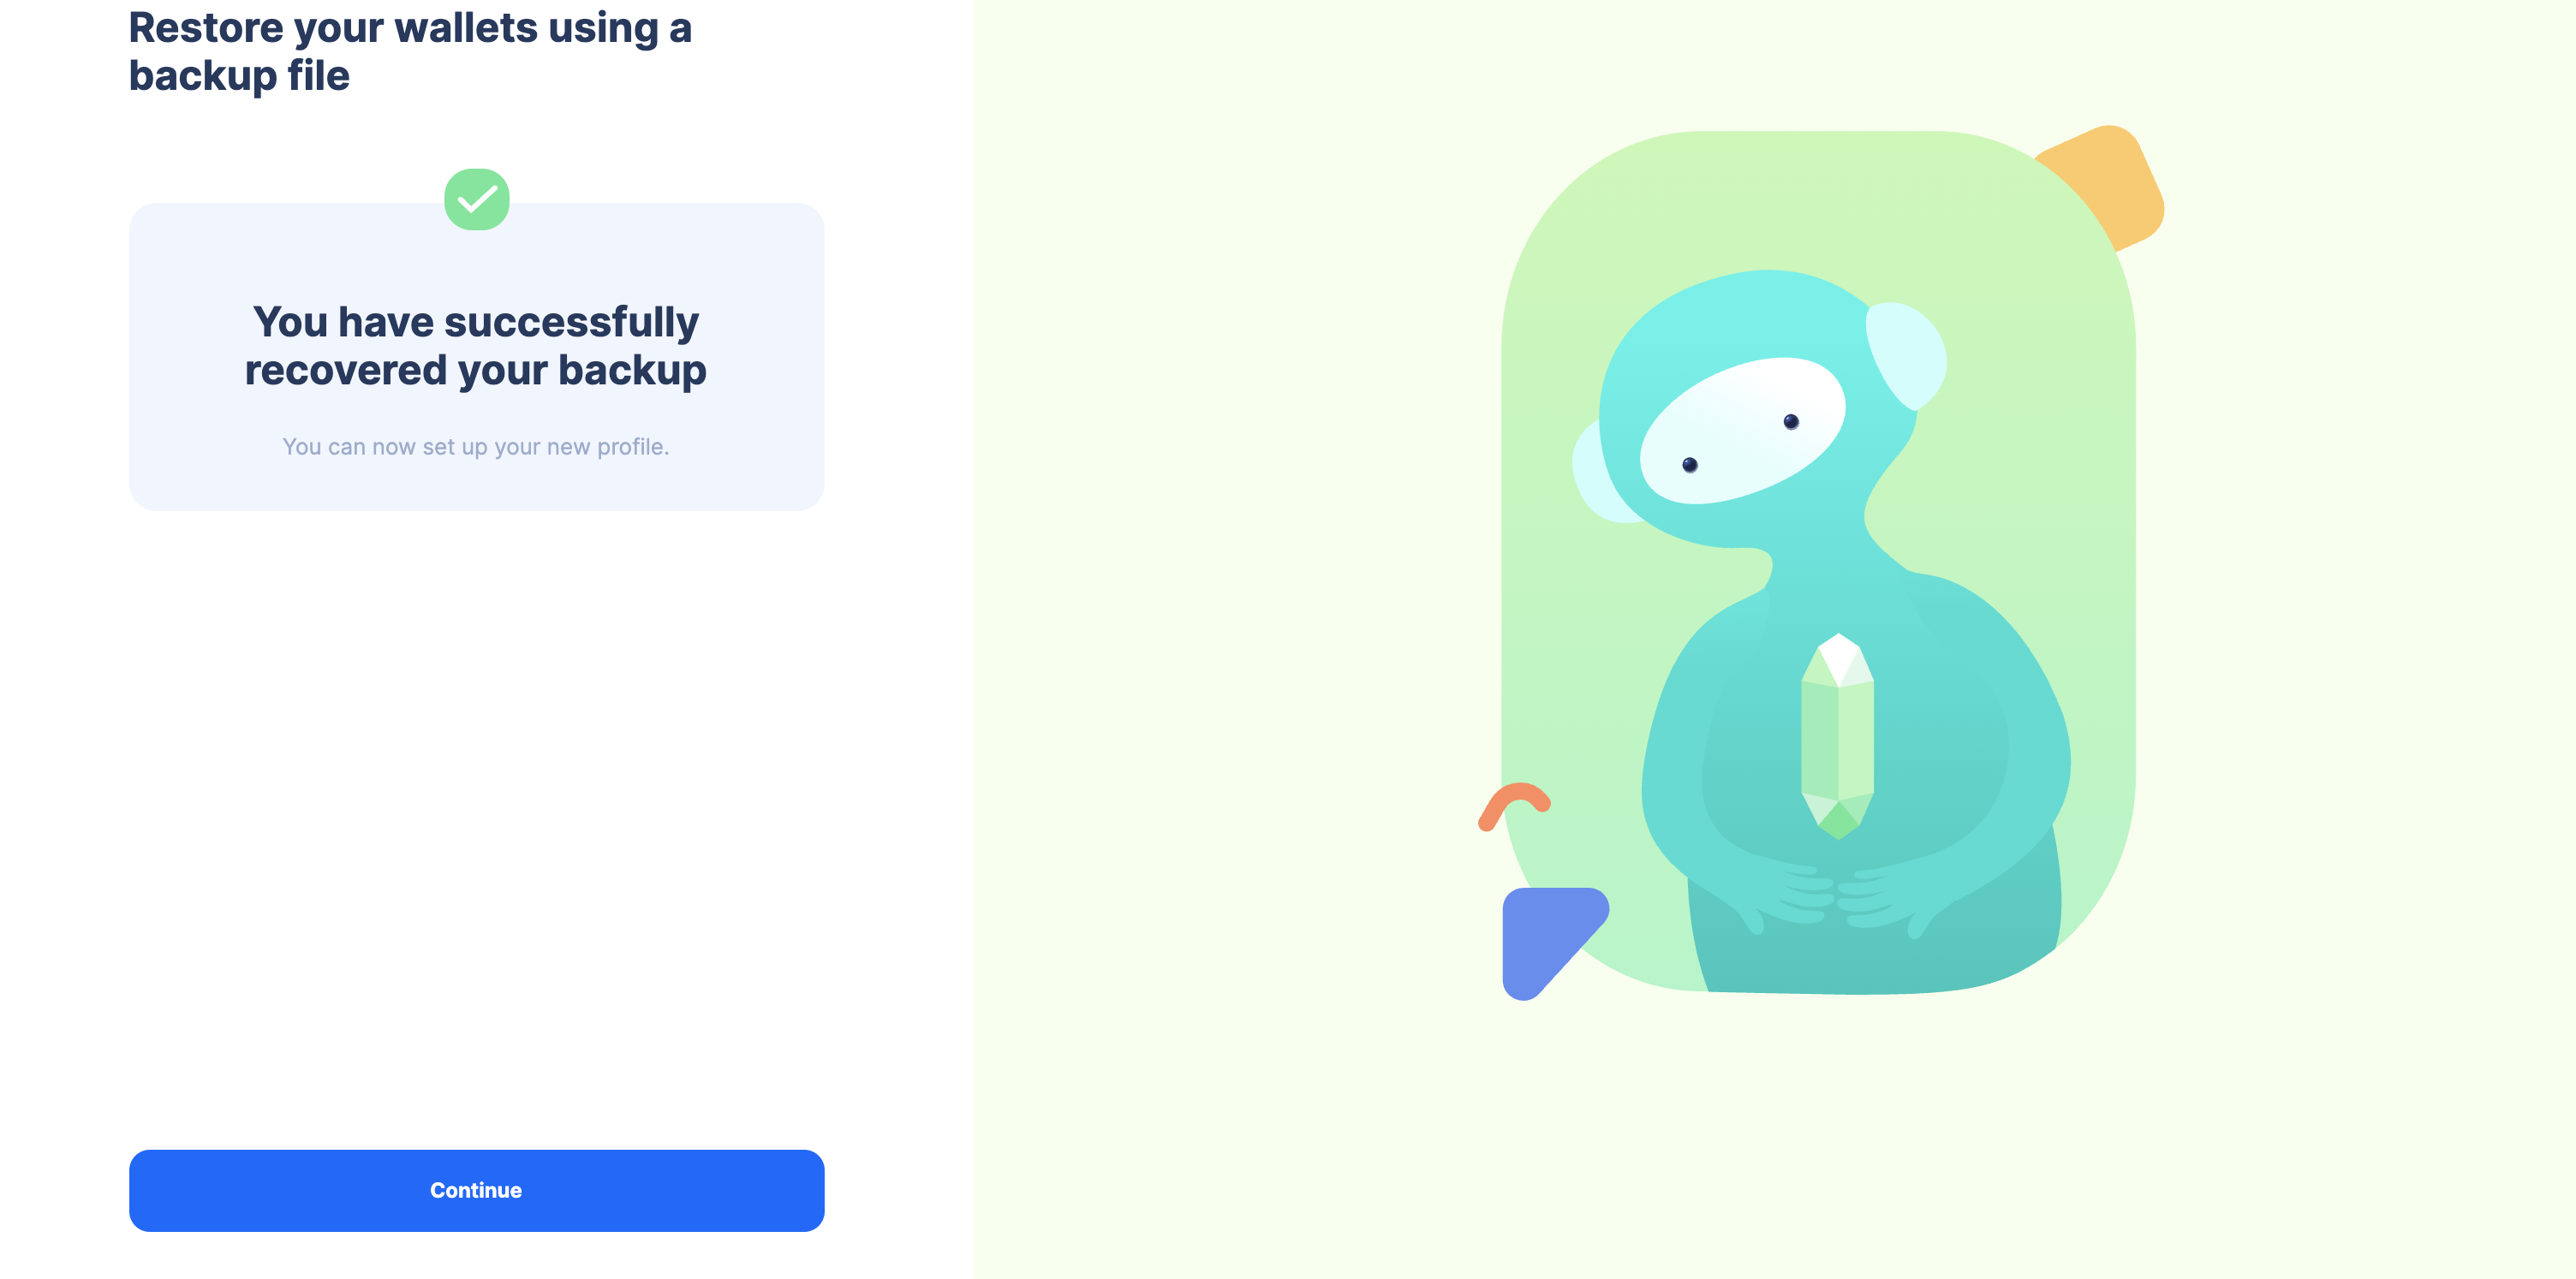
Importing the SeedVault is complete and you can continue with the migration by pressing continue.
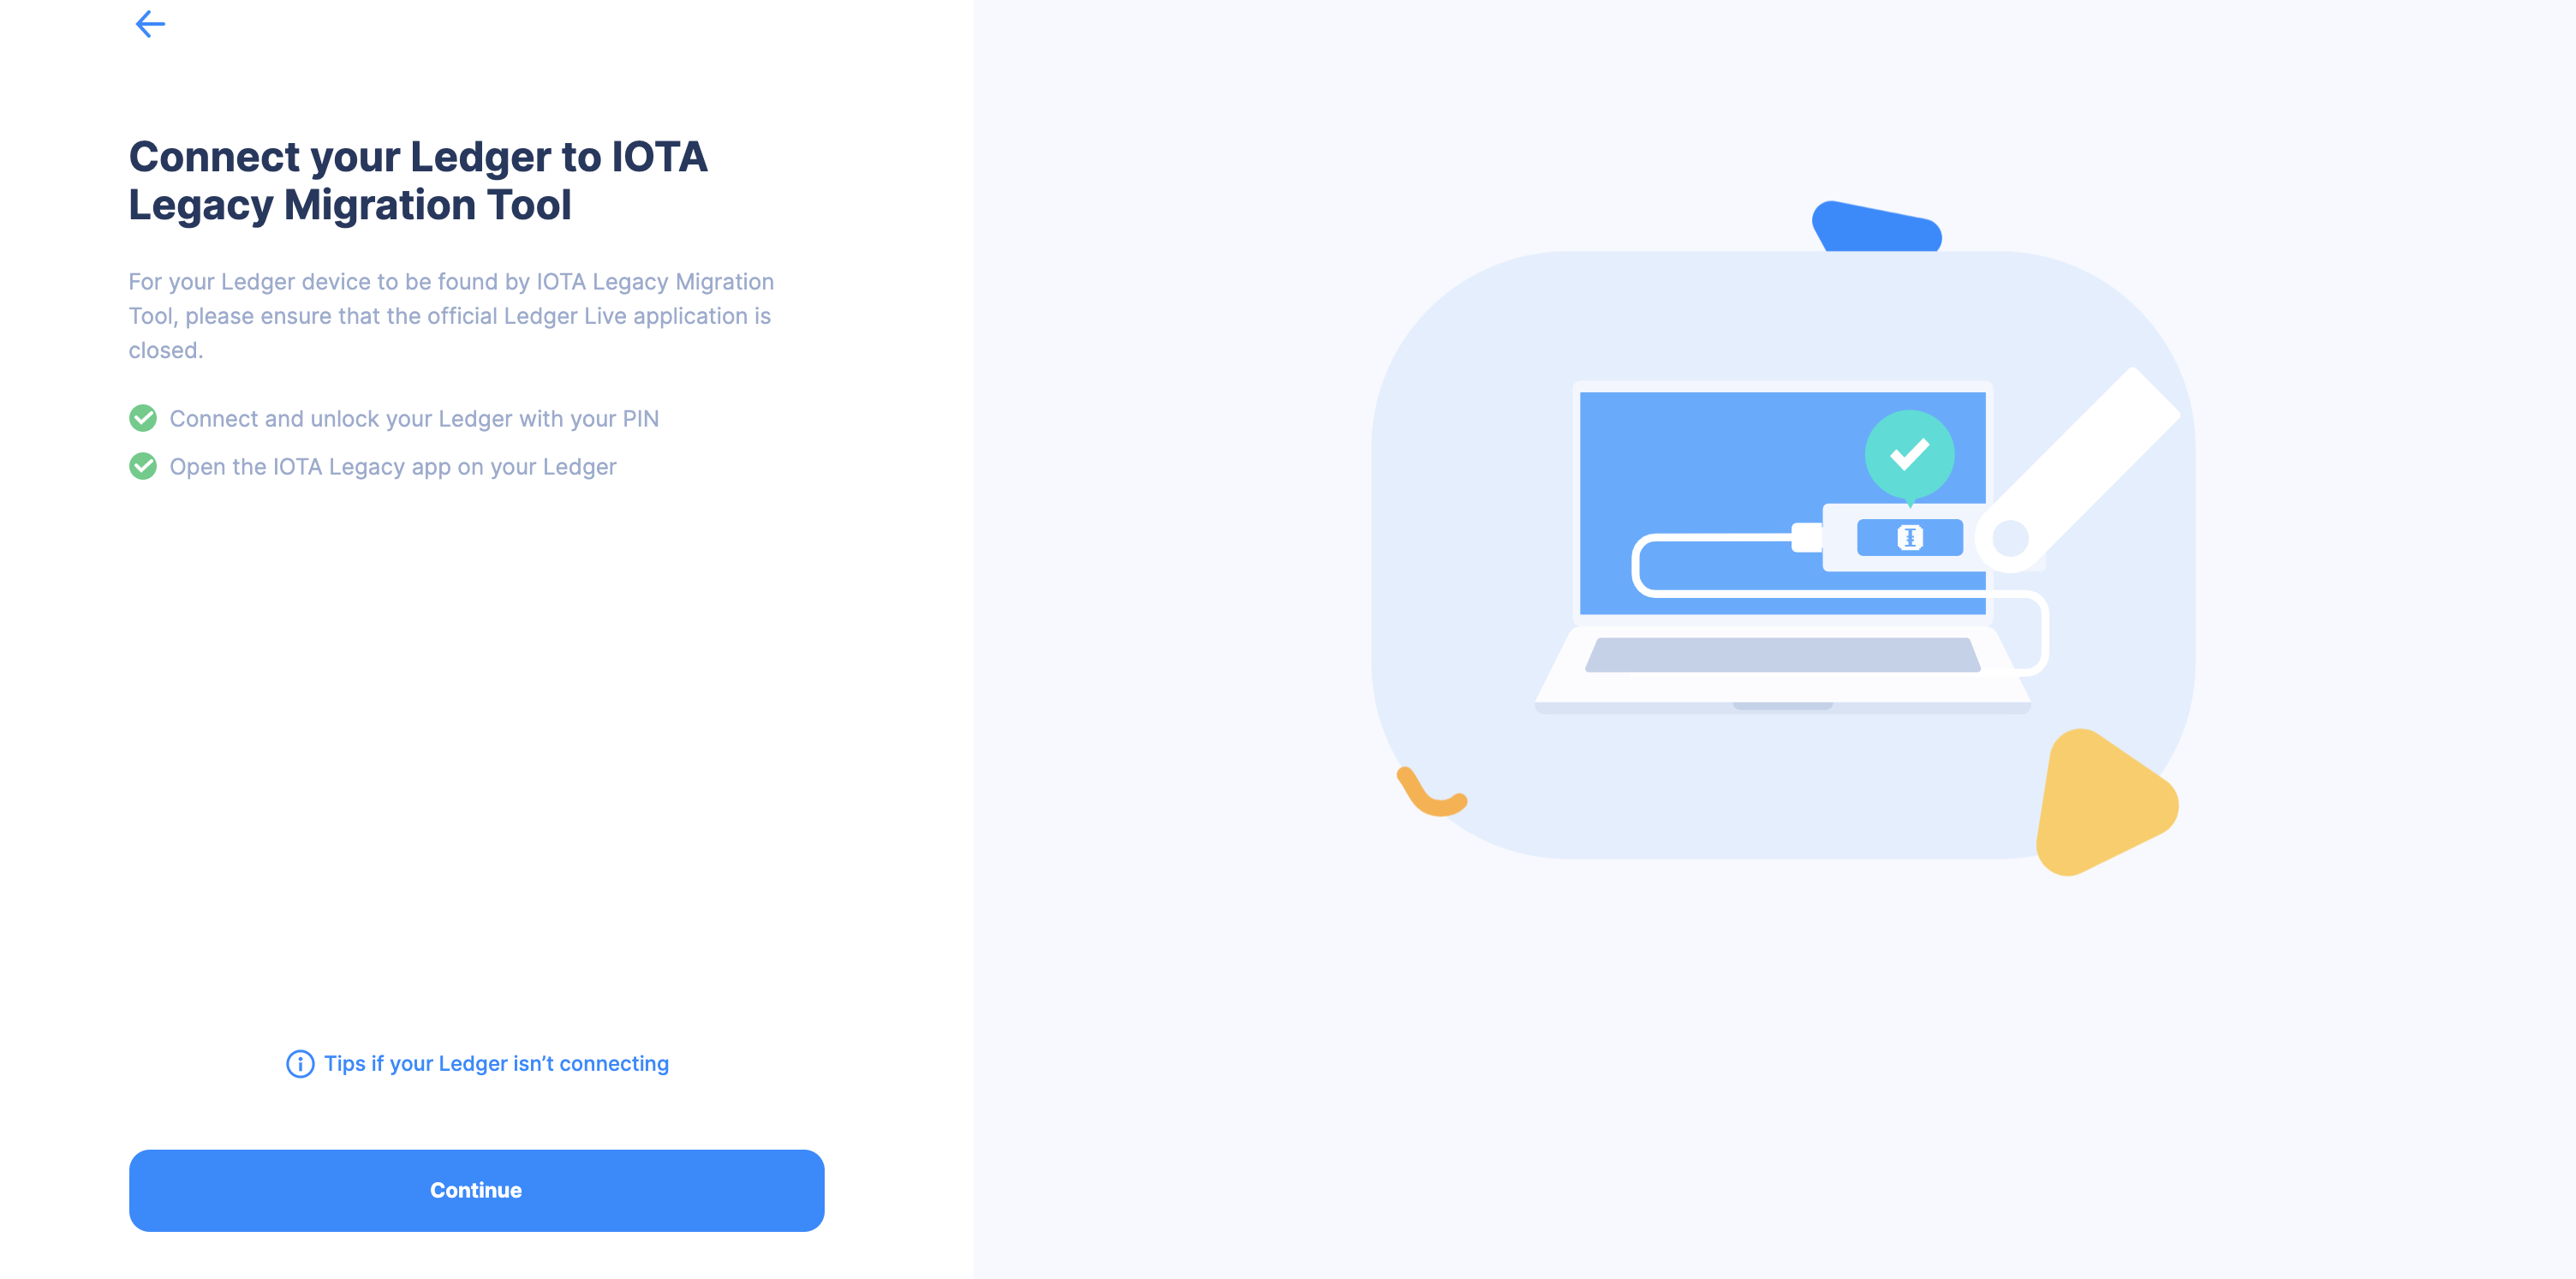
- Get your ledger device and press continue.
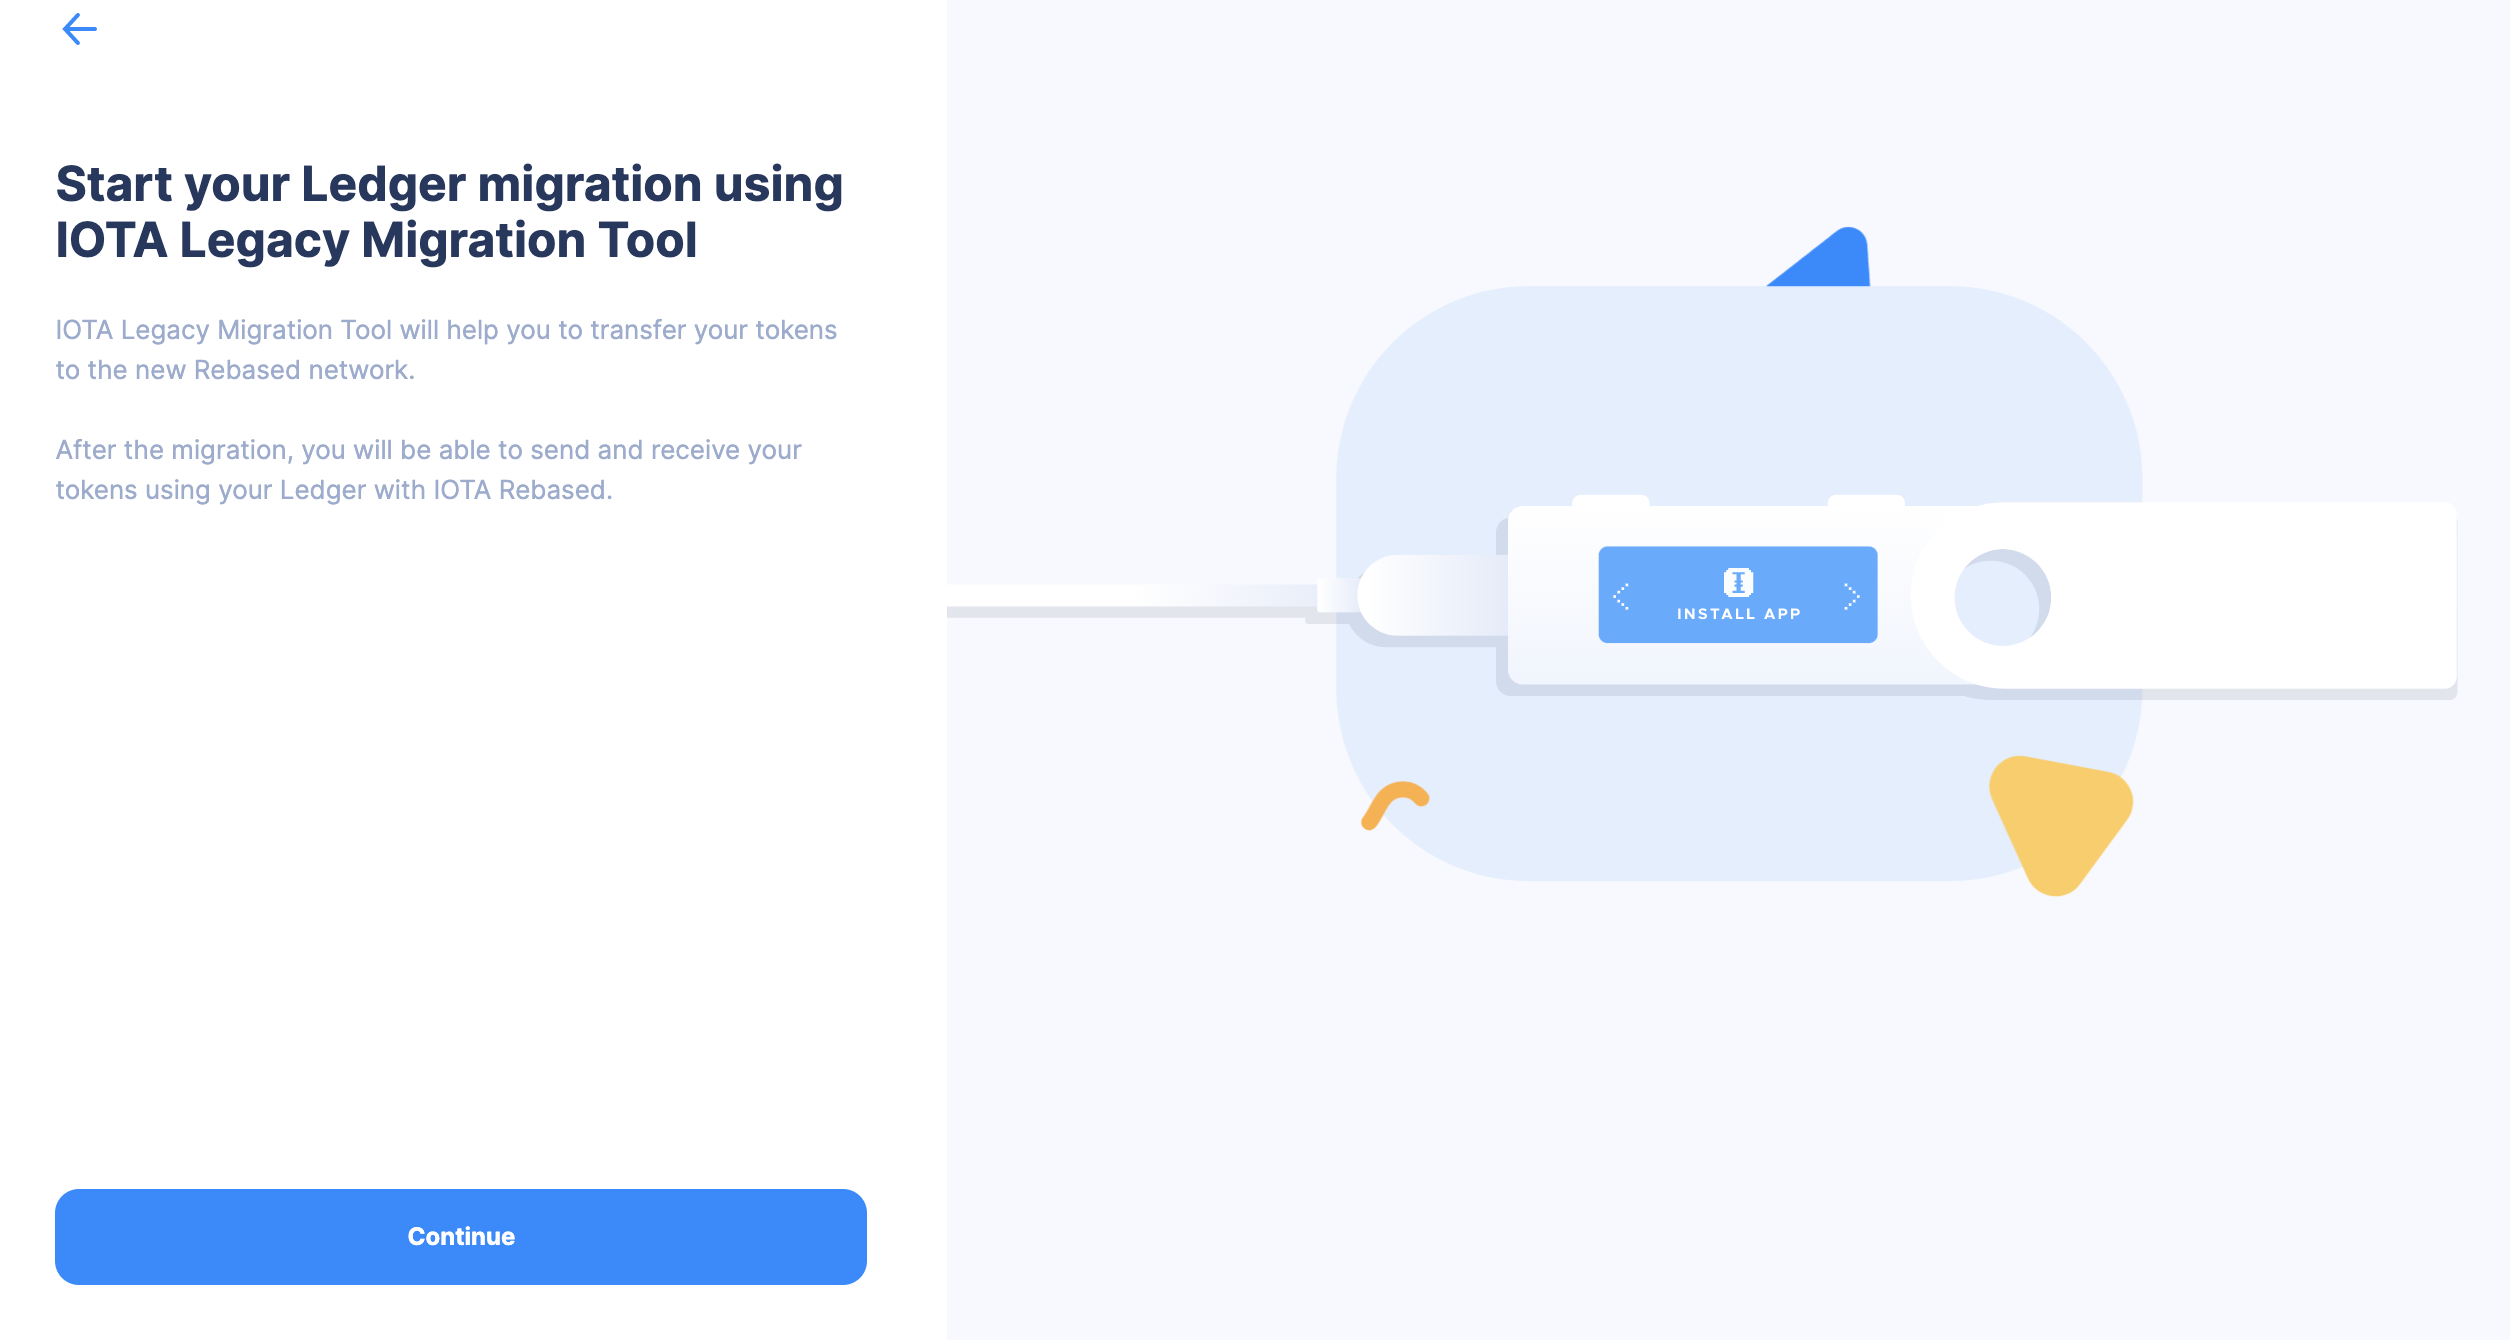
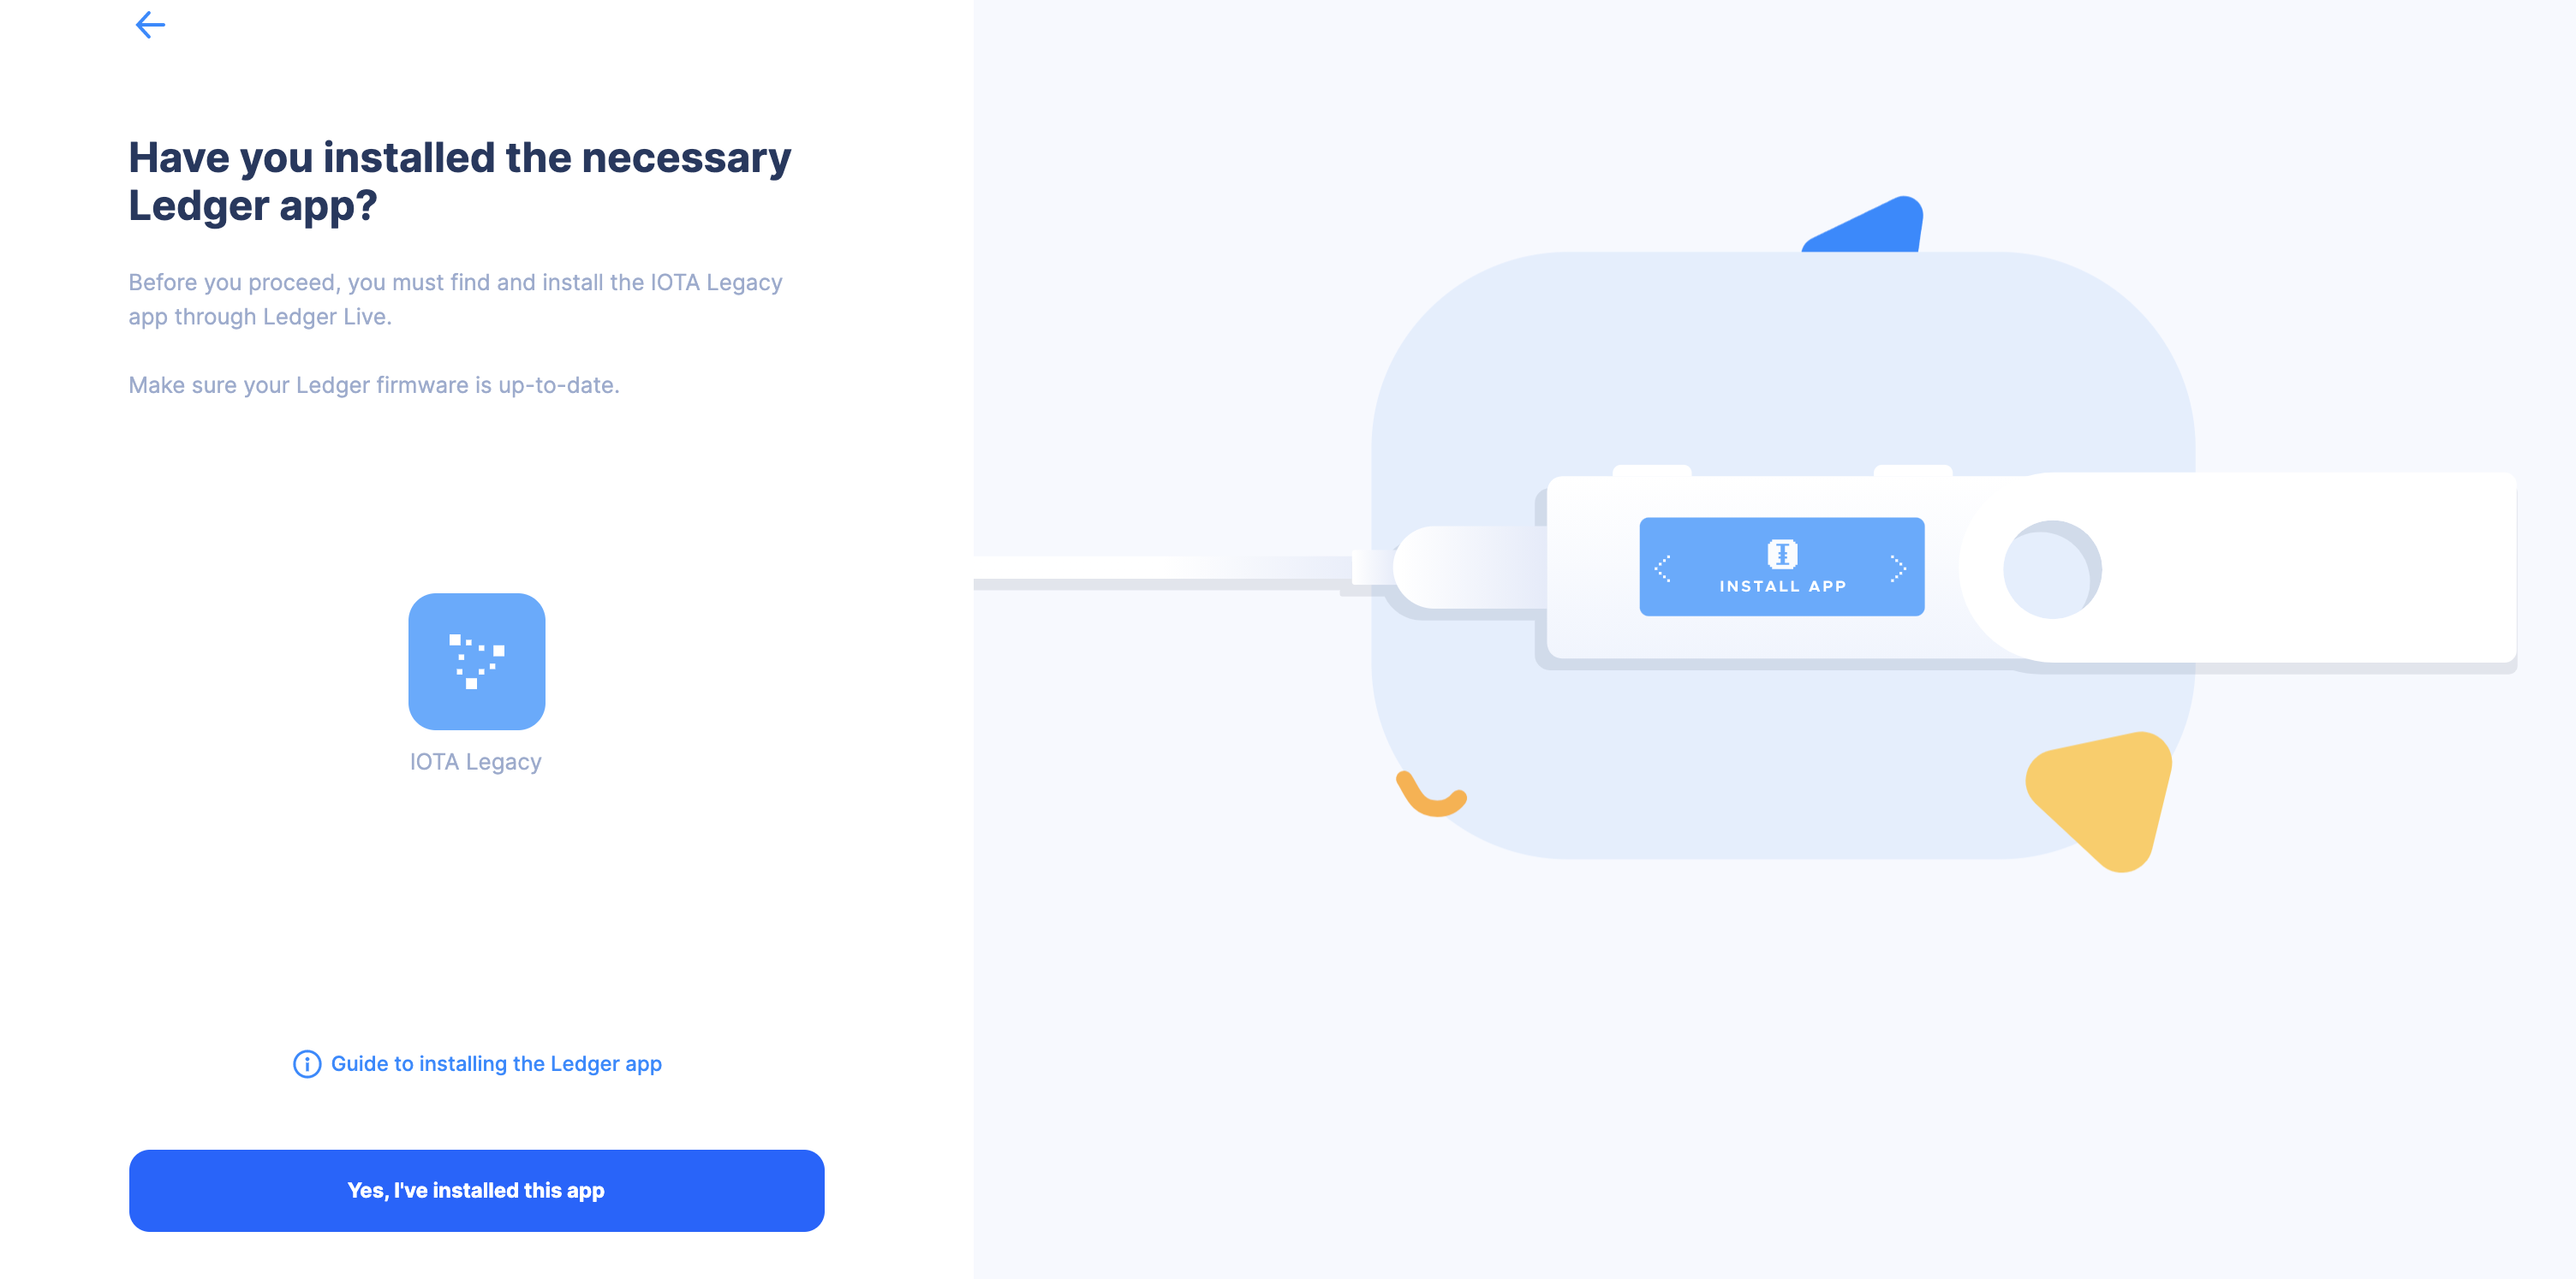
Make sure you have the IOTA legacy app installed on your ledger device, if not you can install it by following the guide showed in the tool. Once you have the app installed press continue.
Connect your ledger device, open the IOTA legacy app and after the tool connected successfully, press continue.
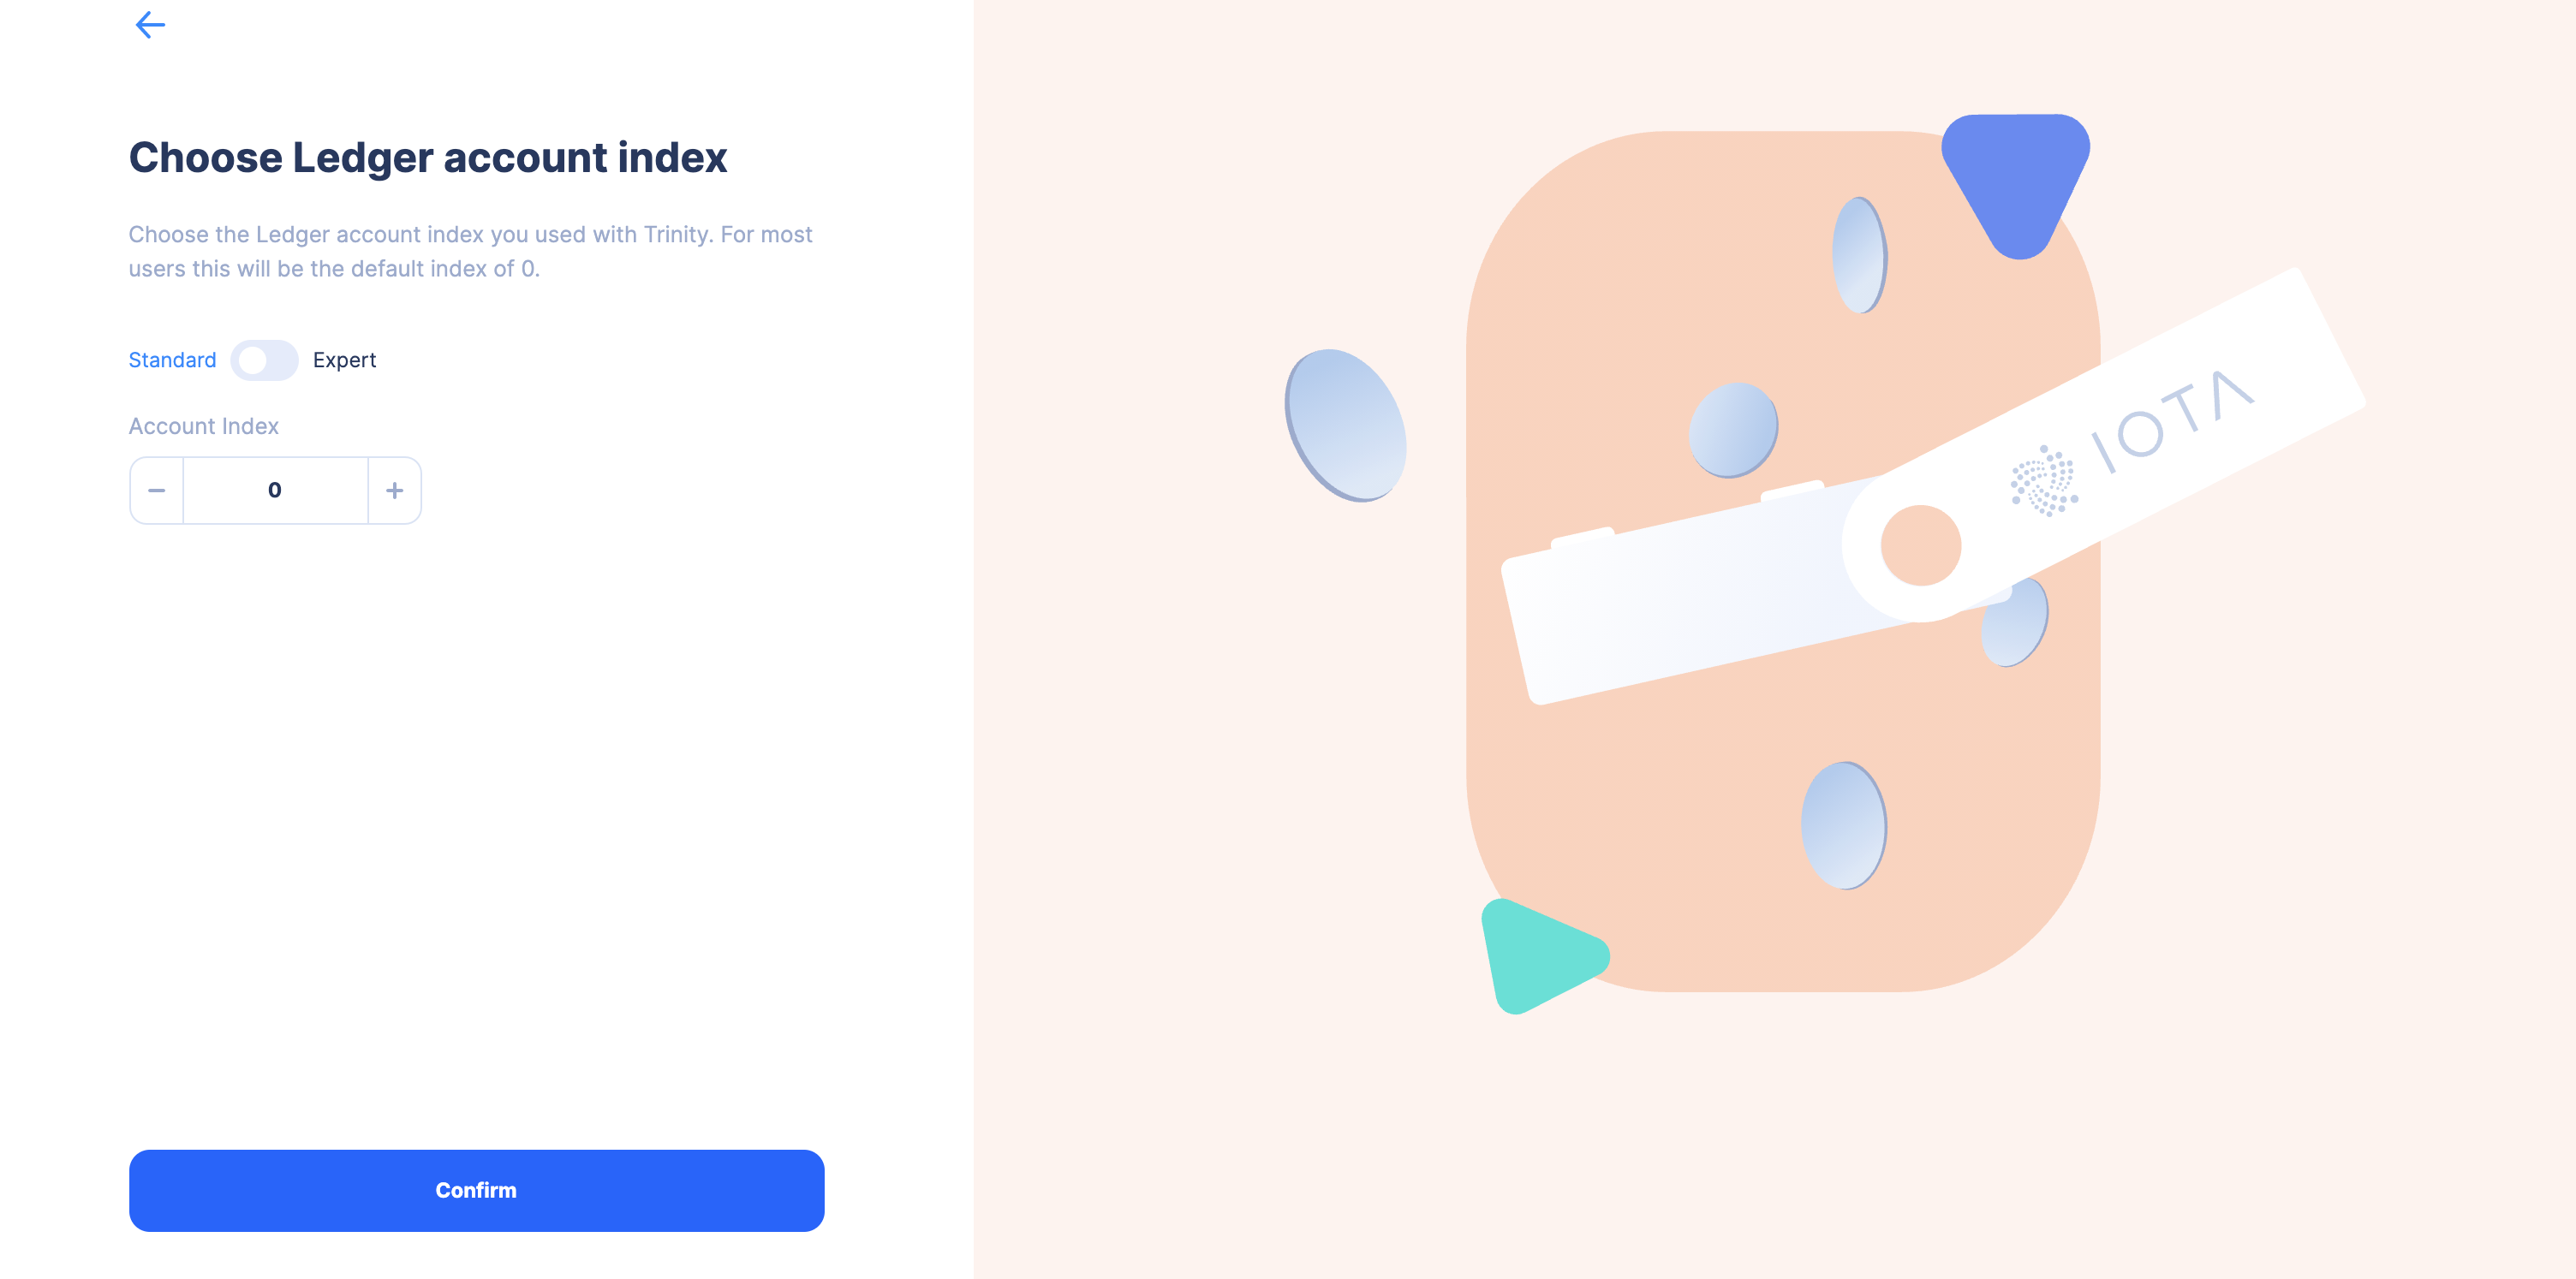
Specify your account index if you used a different one than 0 in Trinity and press continue.
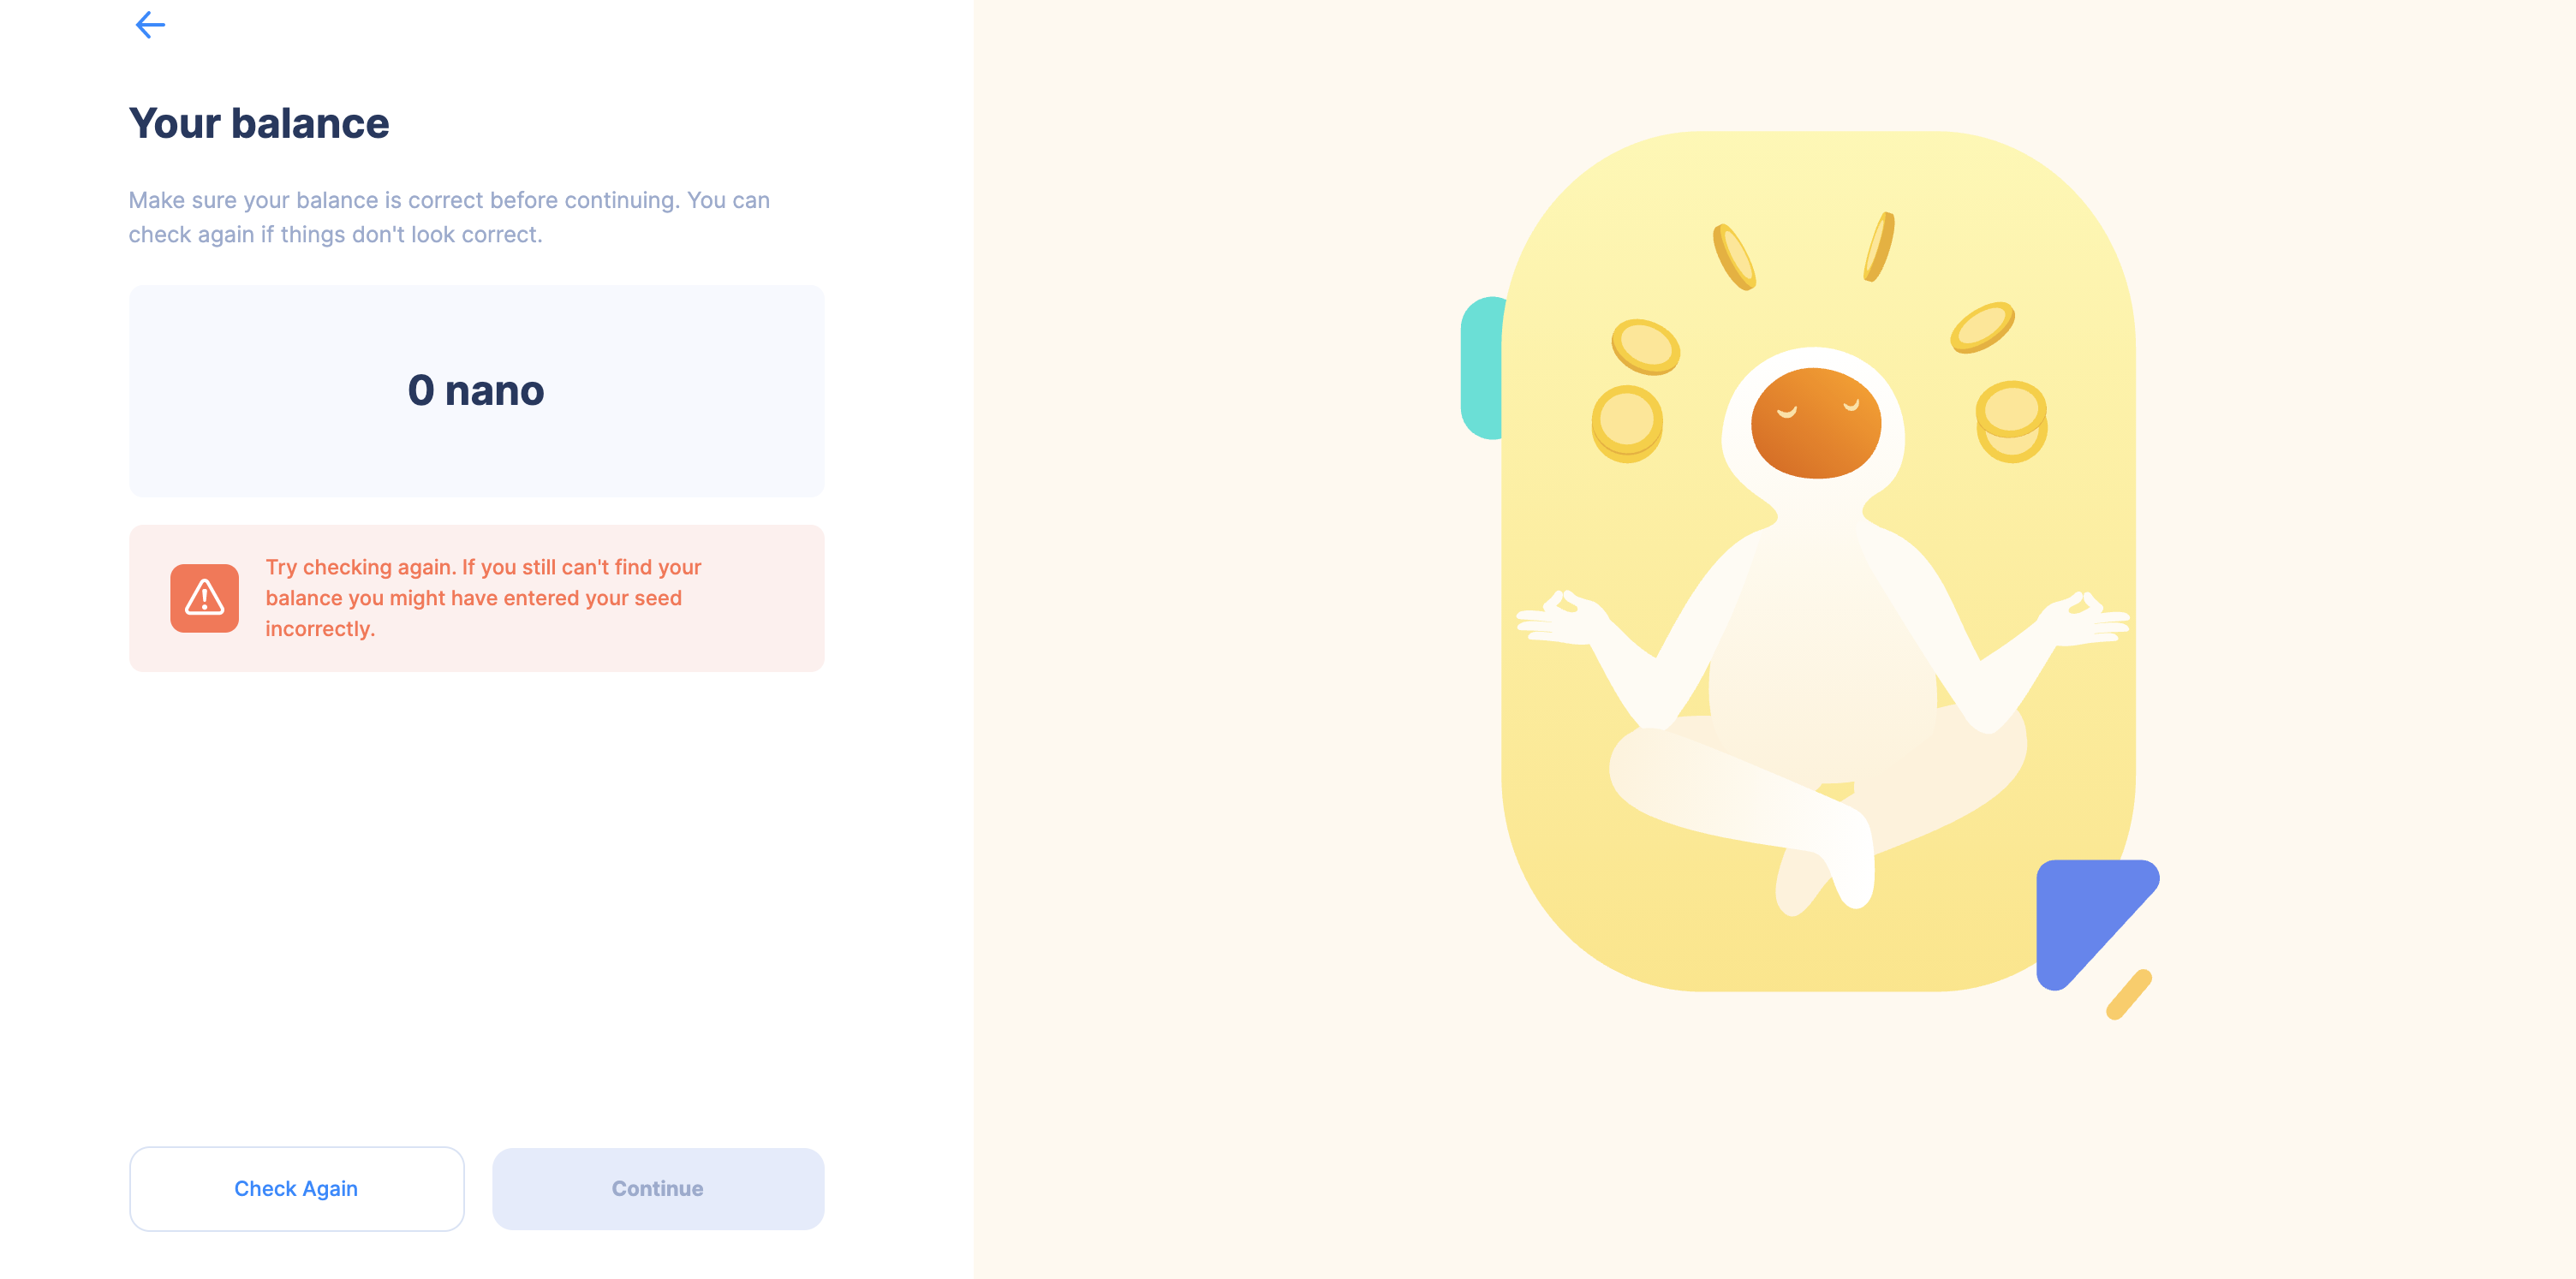
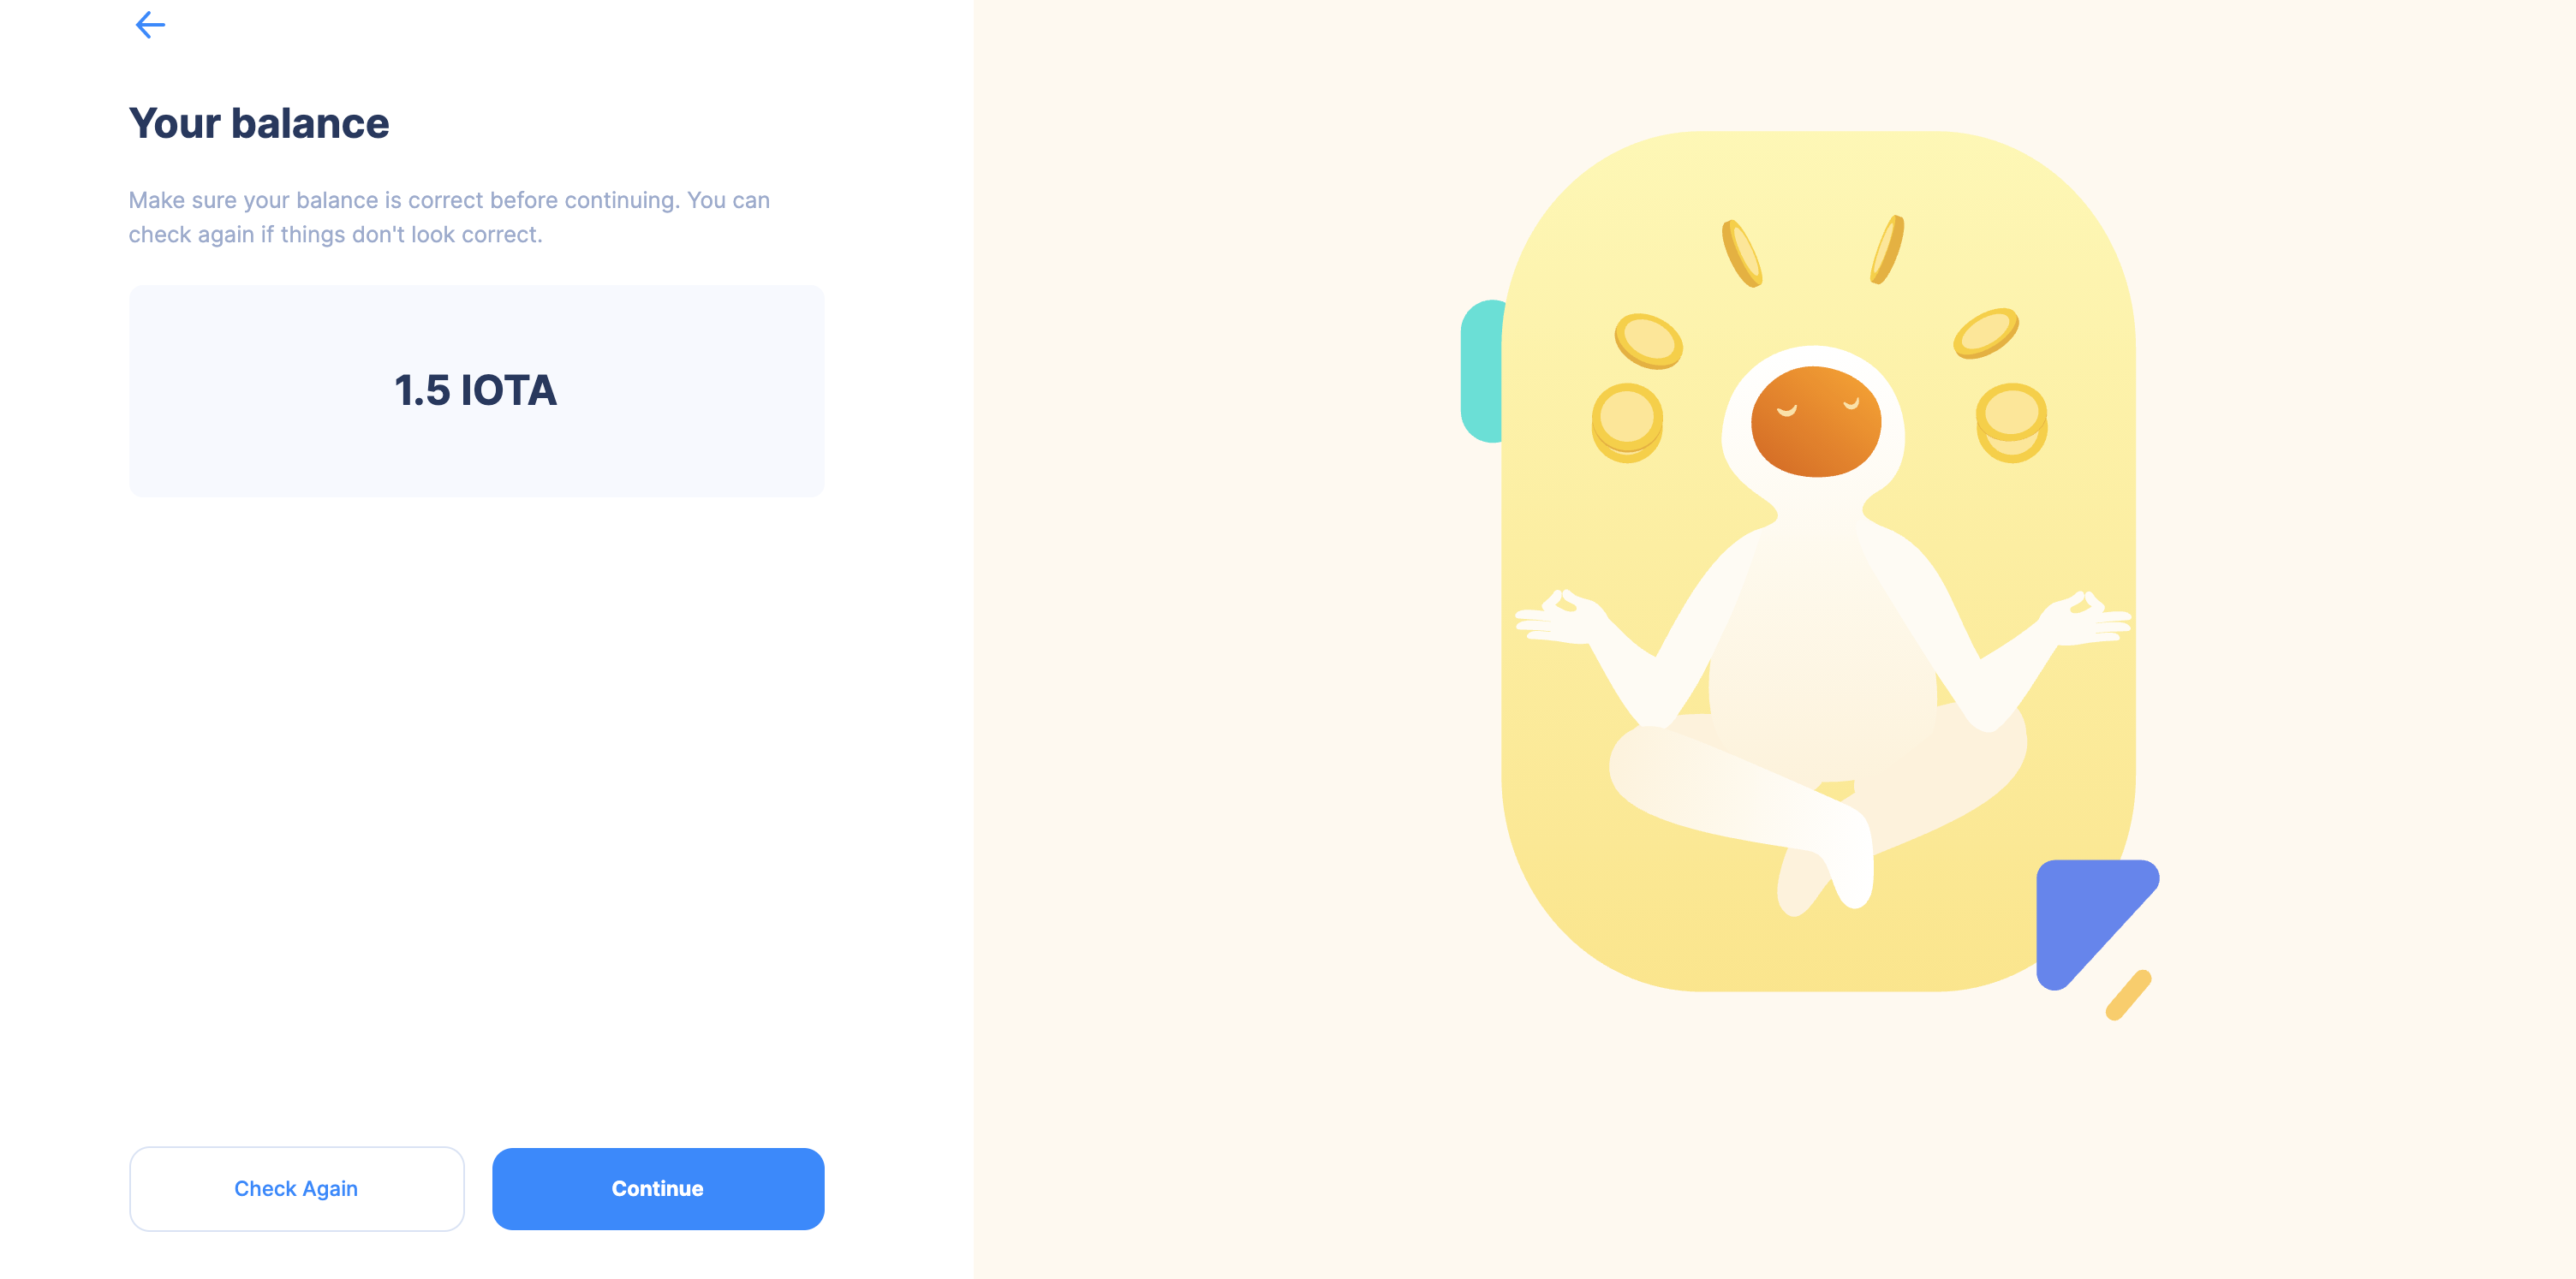
- Search for your balance until you see the correct amount and press continue.
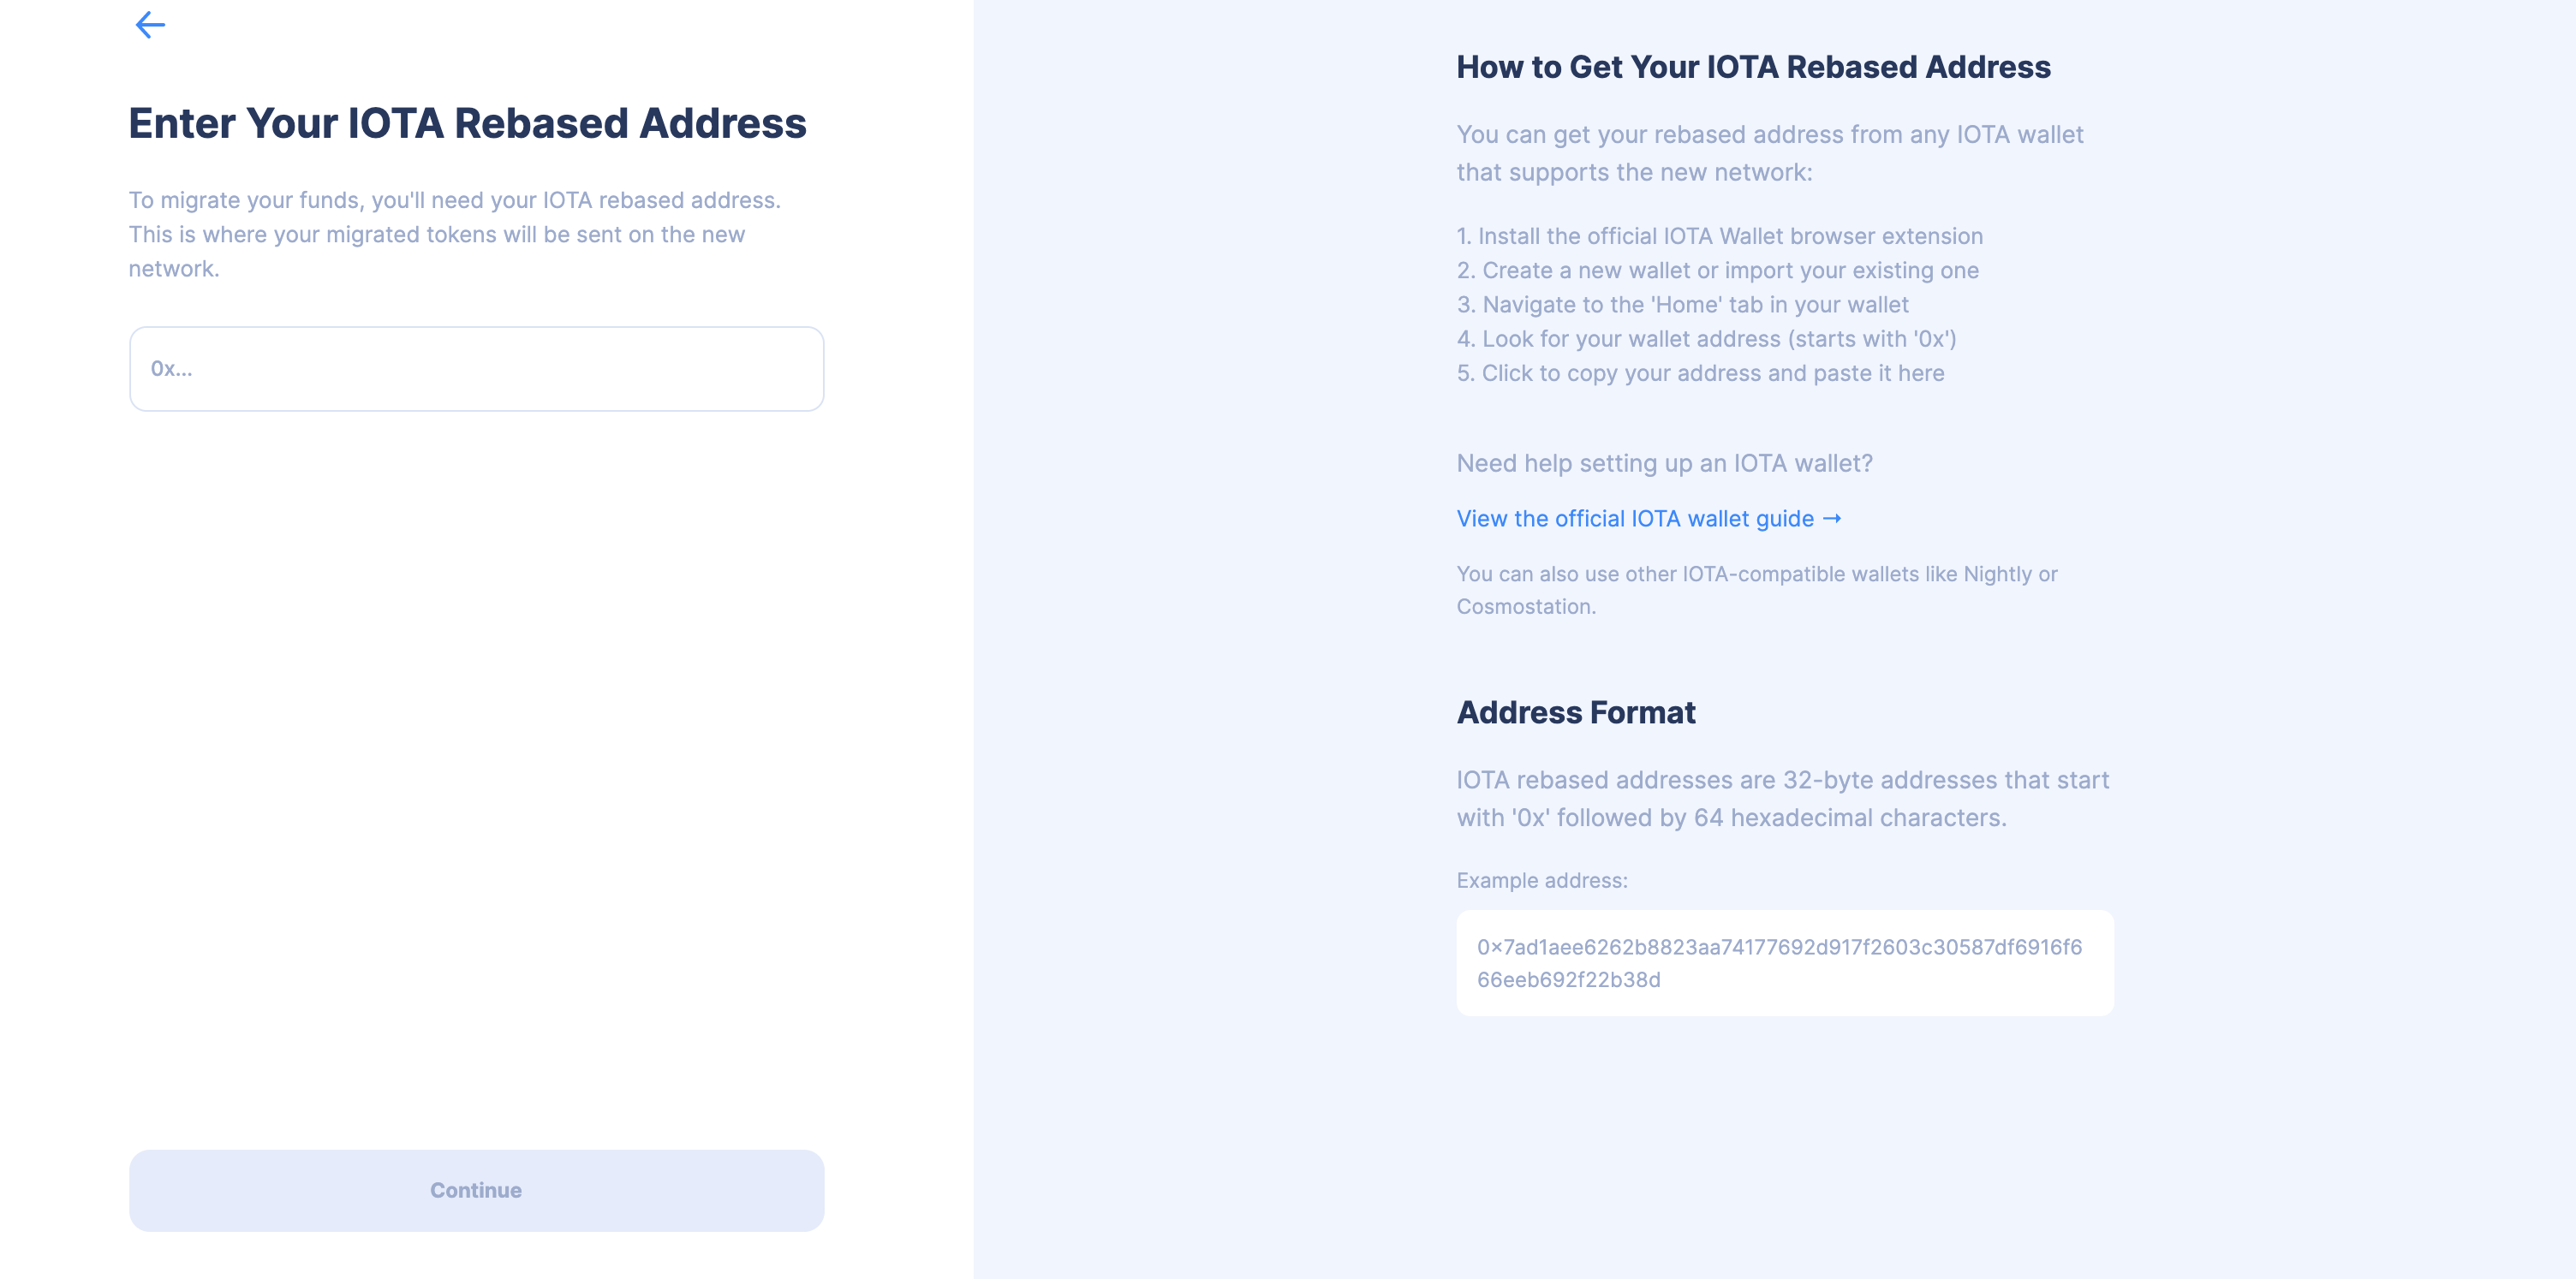
- Enter your new Address where you want to send your claimed legacy funds to and press continue.
- Depending on the distribution of your legacy funds, you can either migrate them in a single transaction or in multiple transactions:
- Seed
- SeedVault
- Ledger
- Single Transaction Migration
- Multiple Transaction Migration
In this overview you can check everything again. Click on "Begin Migration" to start the migration.
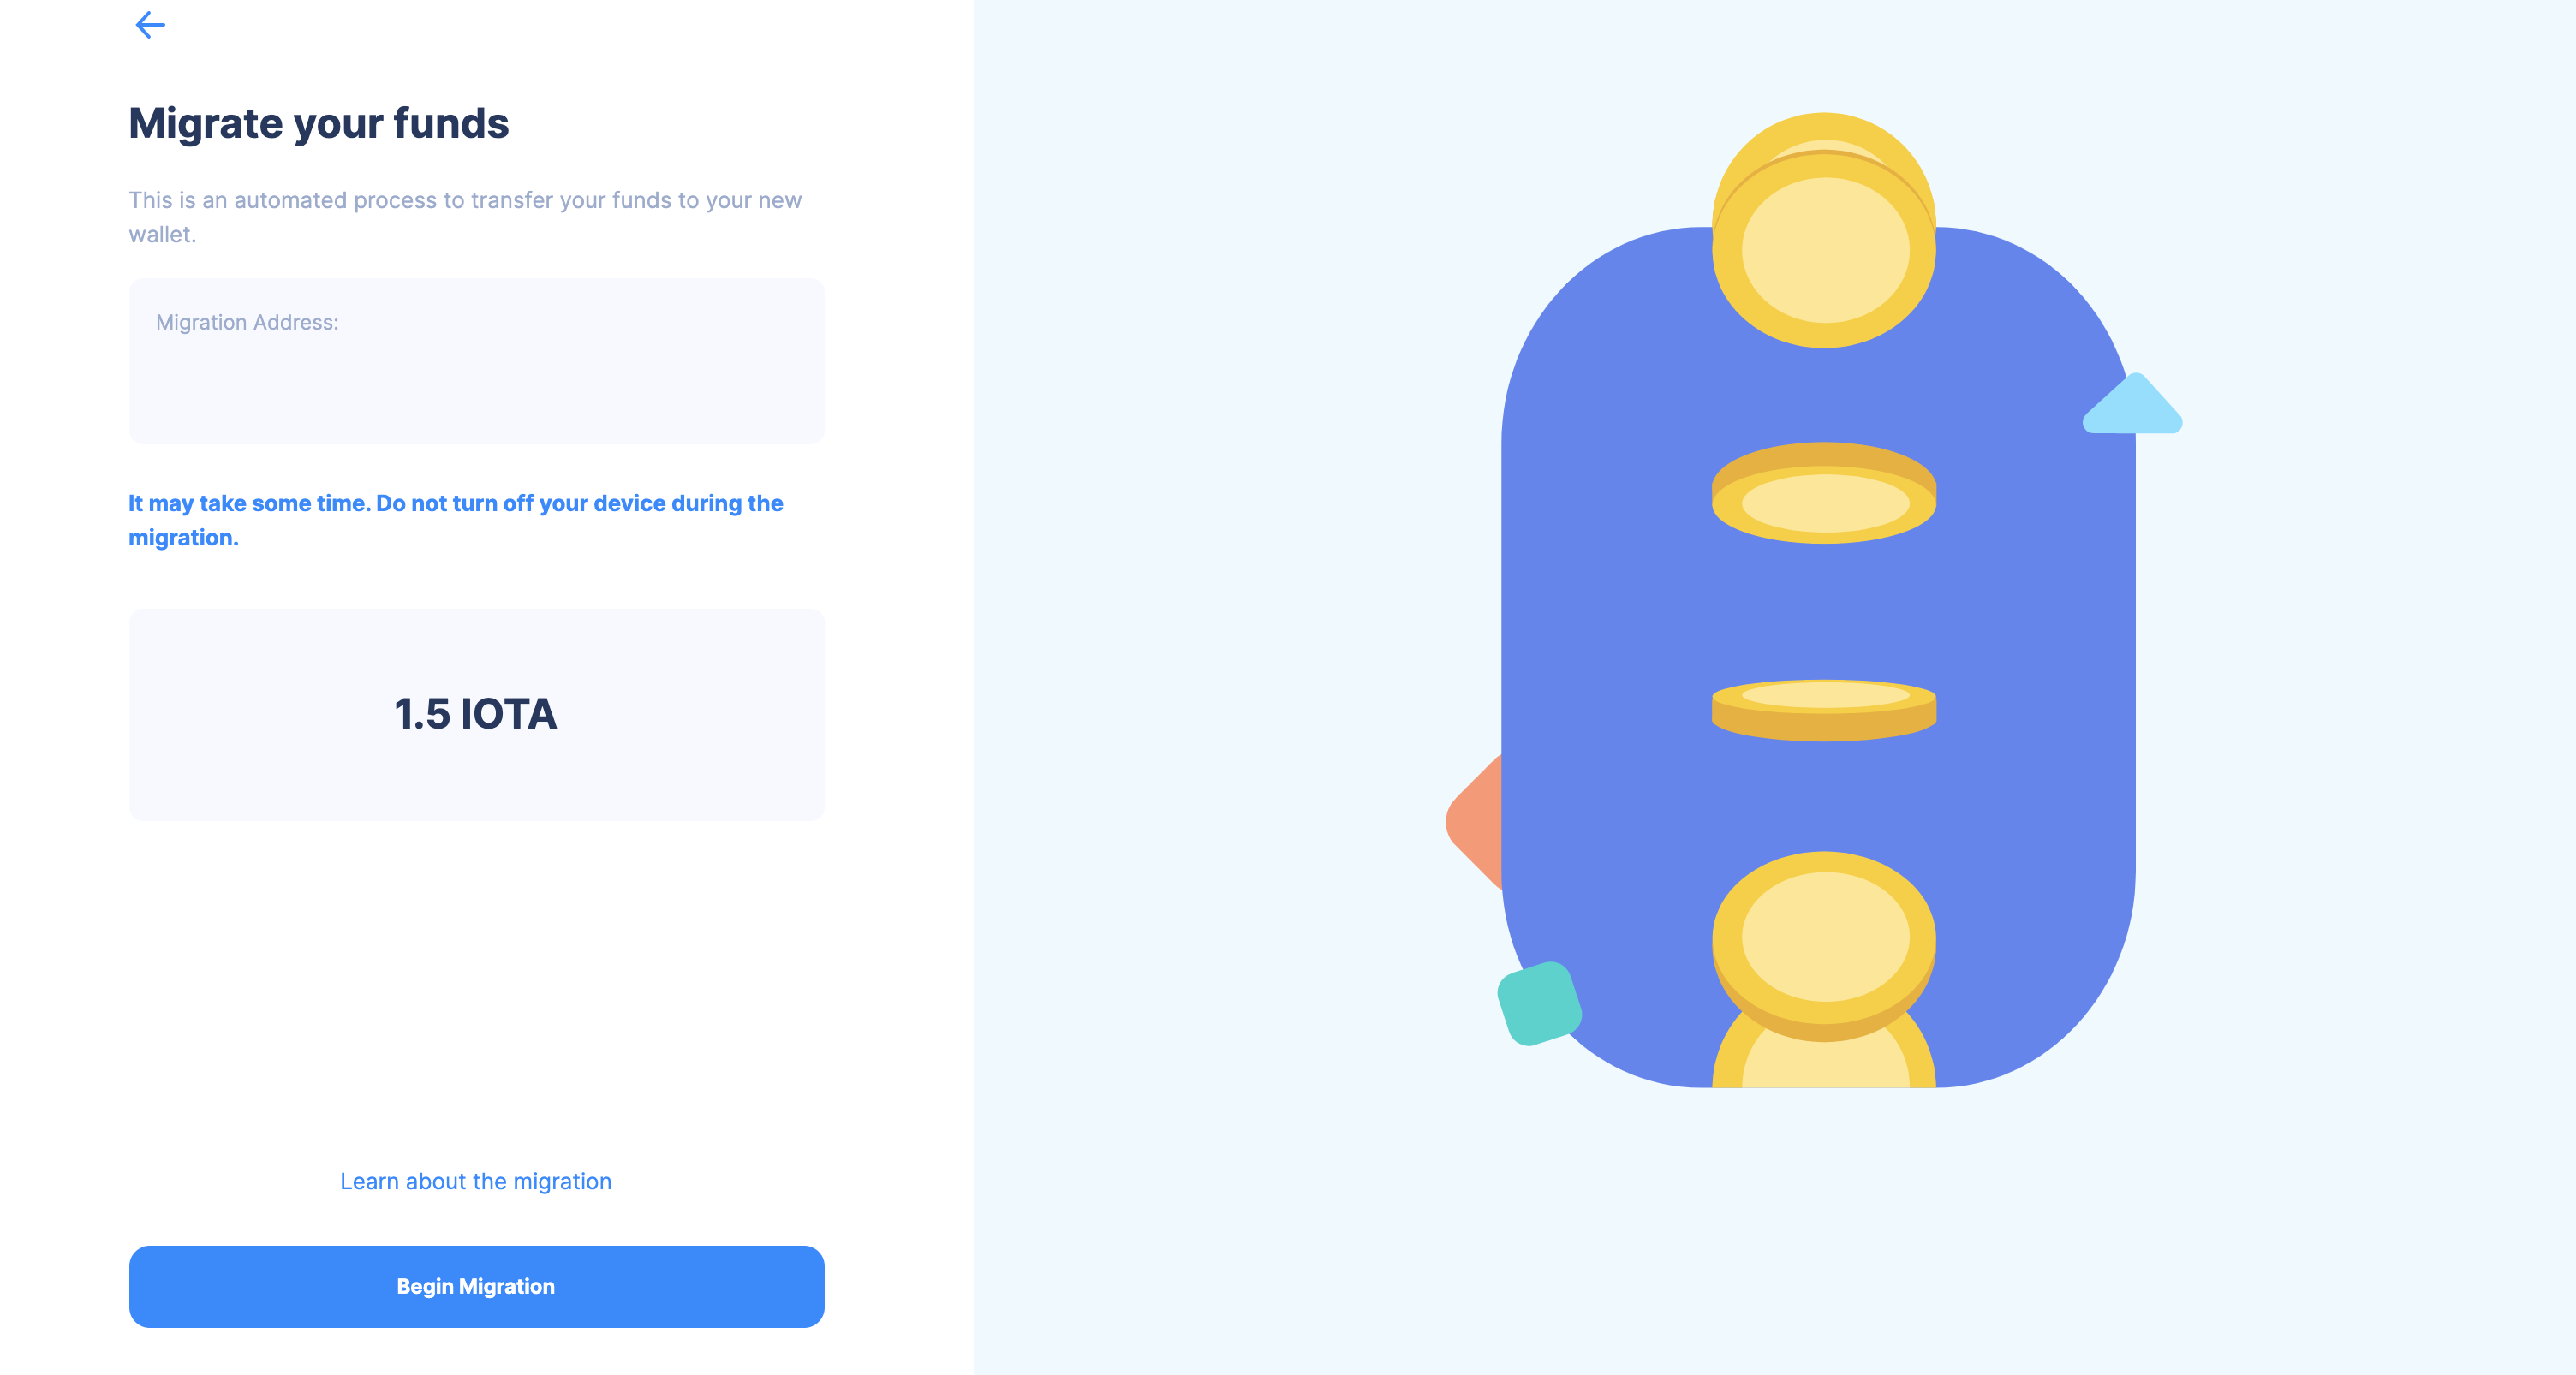
In this overview you can check everything again. Click on "Begin Migration" to start the migration.
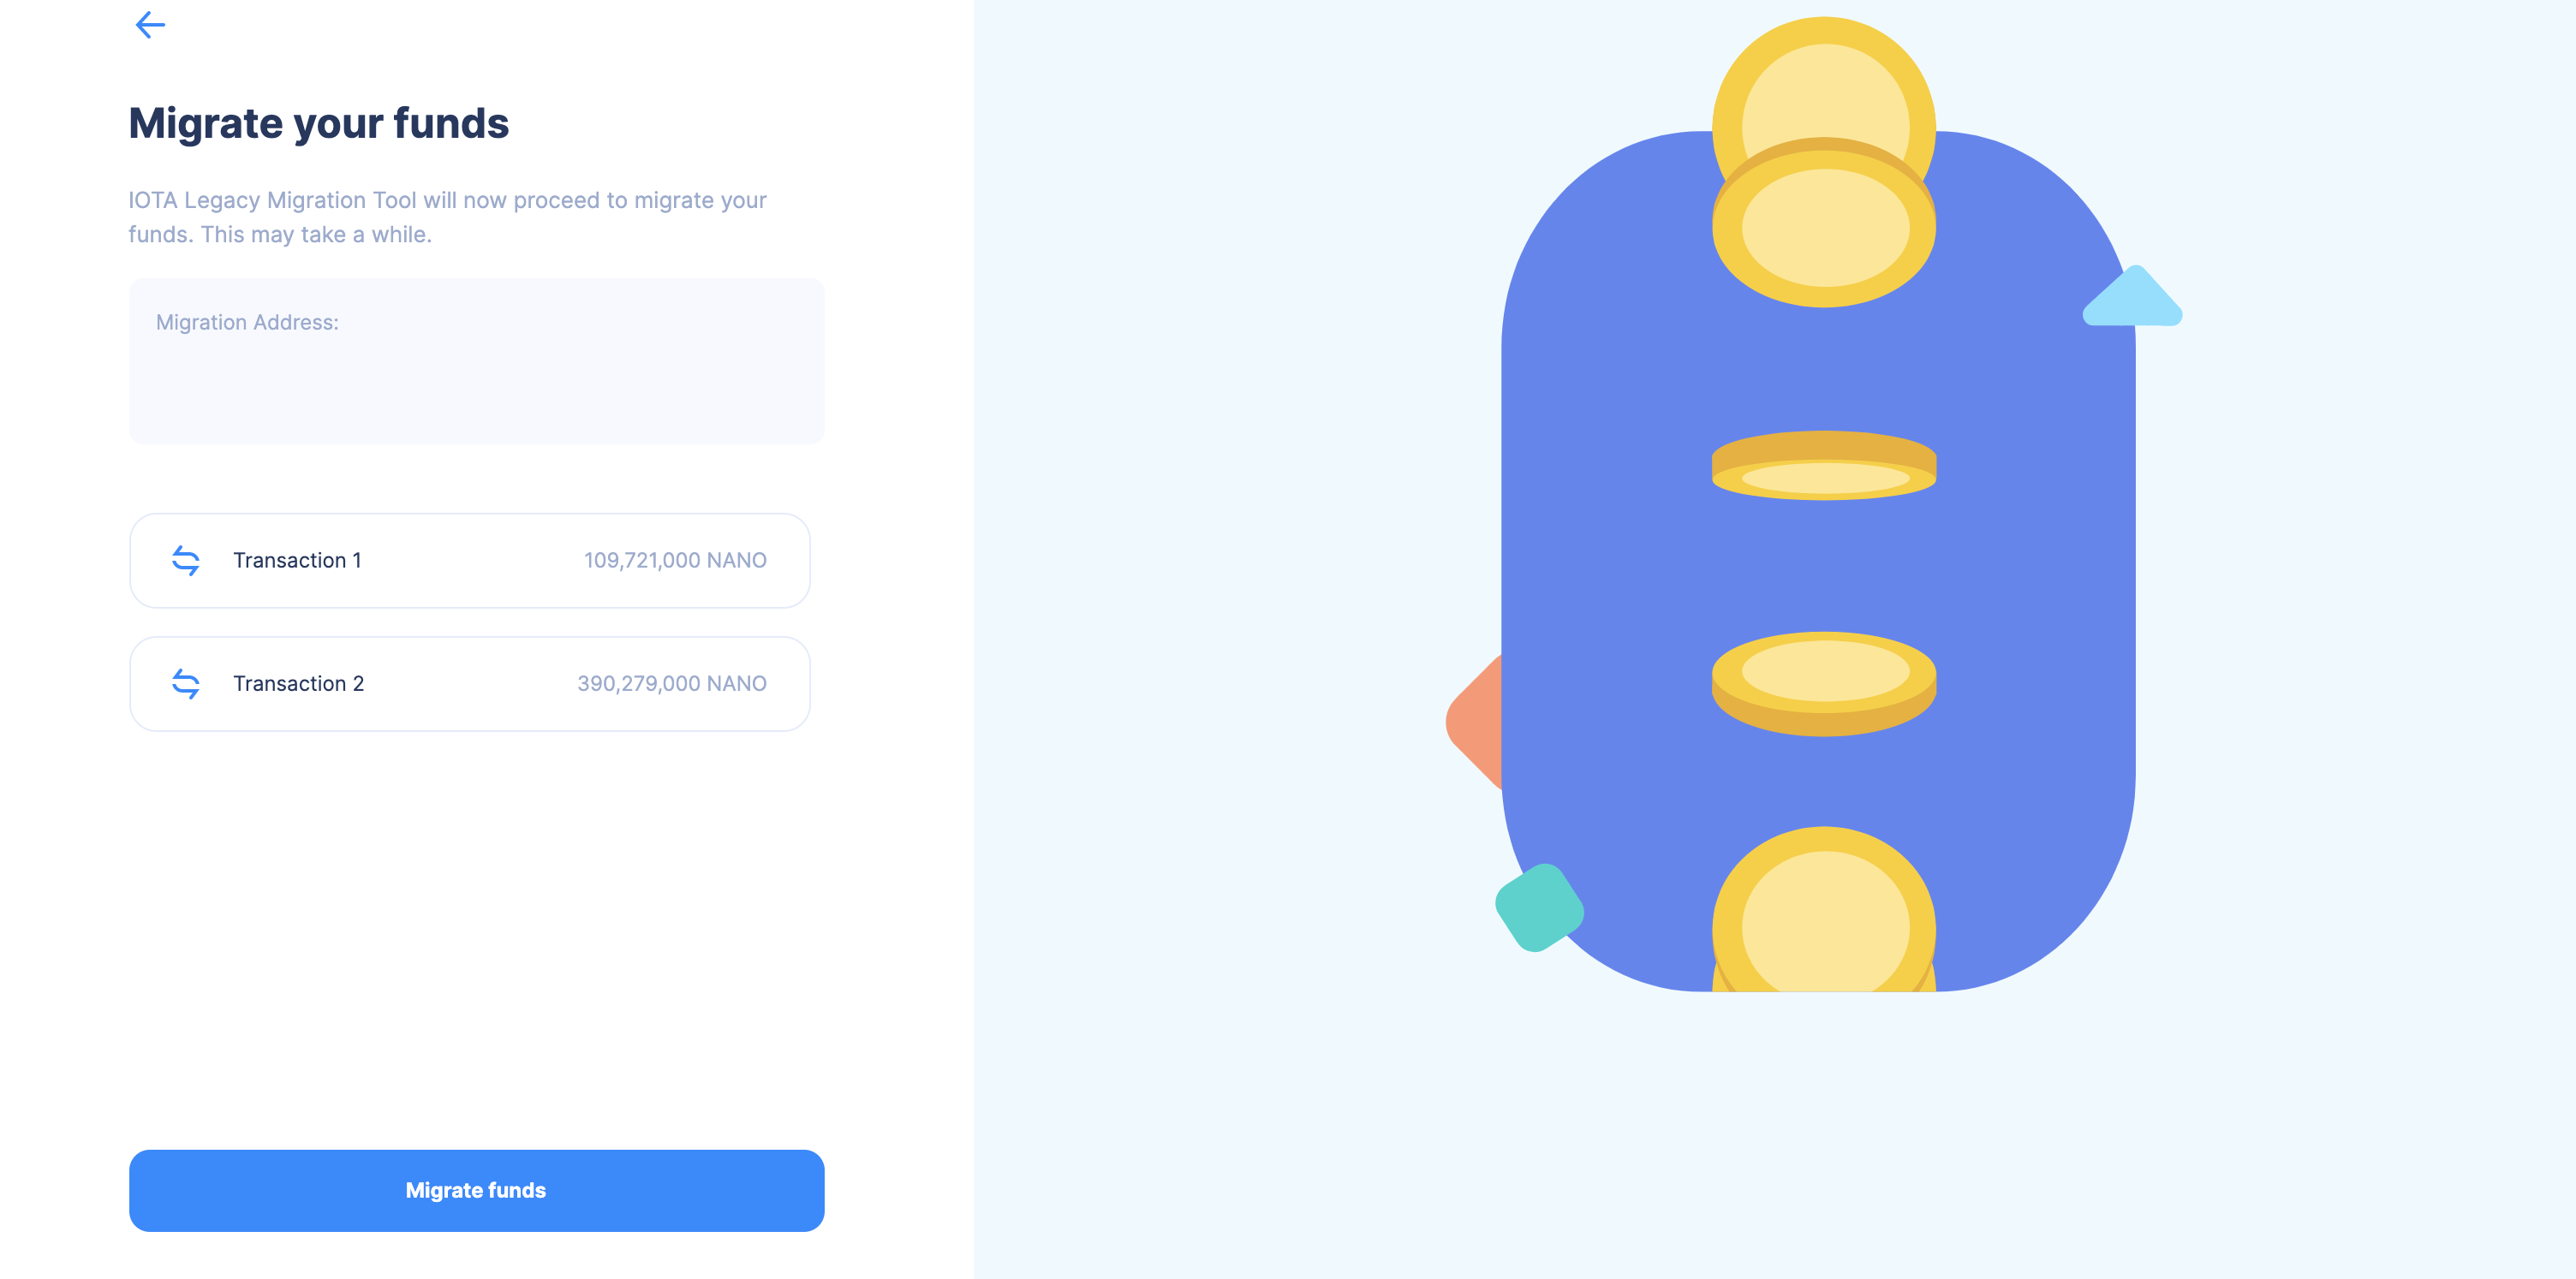
The tool will show you a list of all the transactions that have to be made. Click on "Migrate funds" to start the migration.
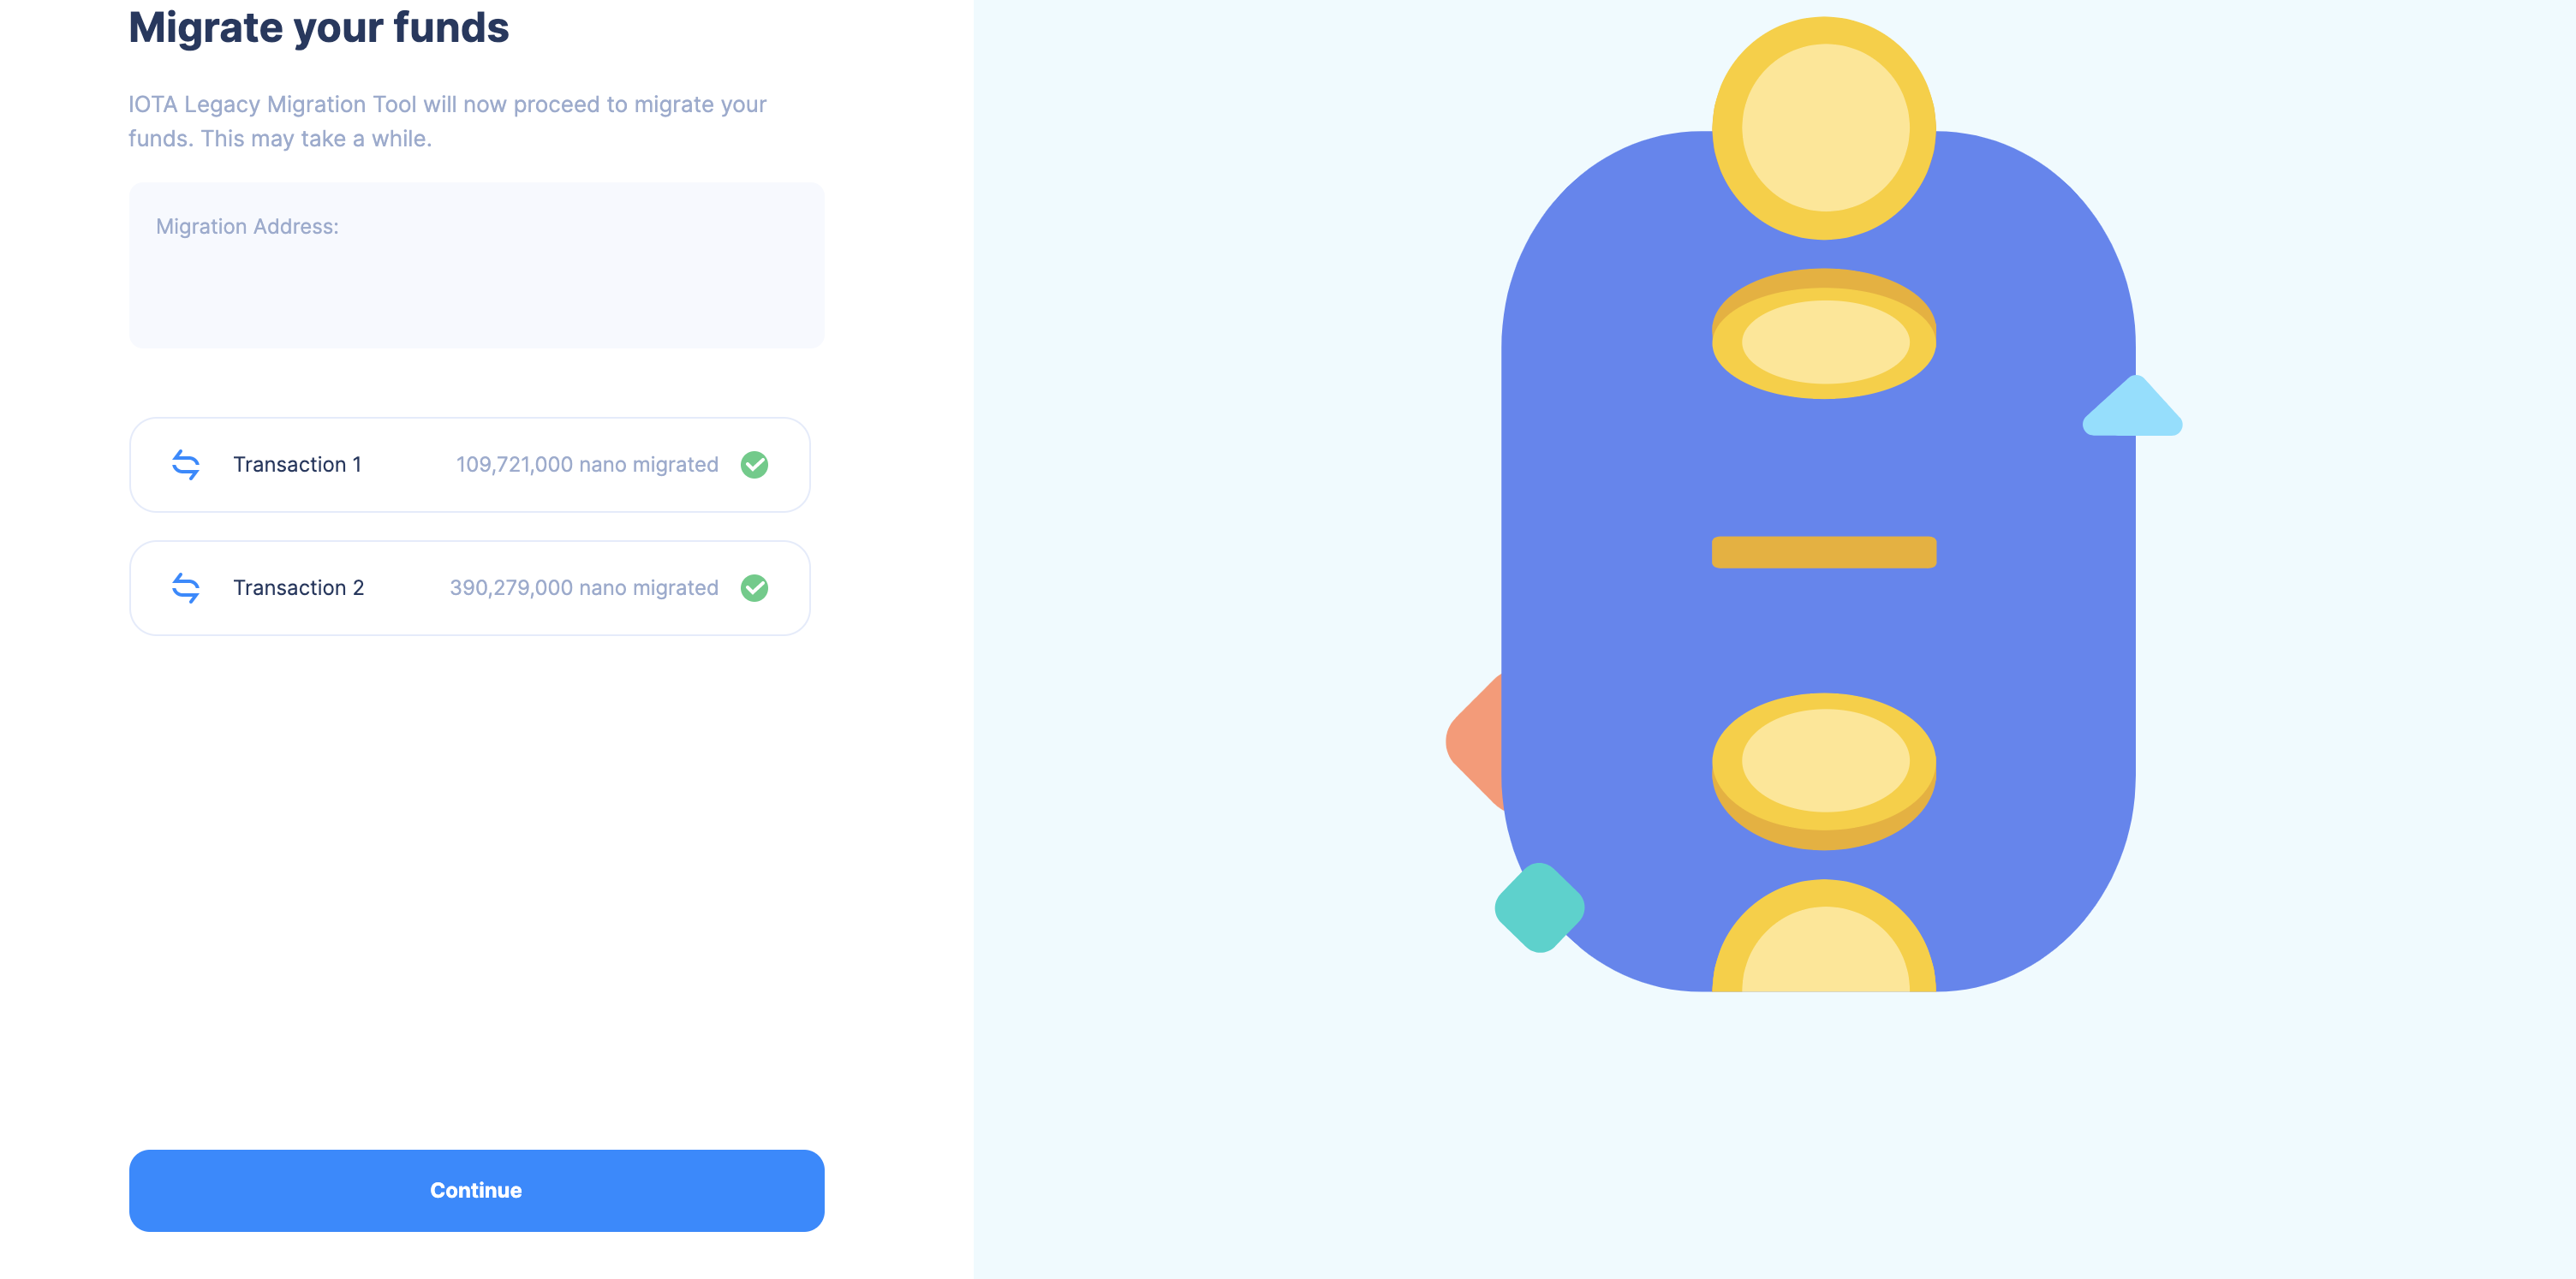
On the next screen, you can monitor the progress of each individual transaction.
- Single Transaction Migration
- Multiple Transaction Migration
In this overview you can check everything again. Click on "Begin Migration" to start the migration.
In this overview you can check everything again. Click on "Begin Migration" to start the migration.
The tool will show you a list of all the transactions that have to be made. Click on "Migrate funds" to start the migration.
On the next screen, you can monitor the progress of each individual transaction.
- Single Transaction Migration
- Multiple Transaction Migration
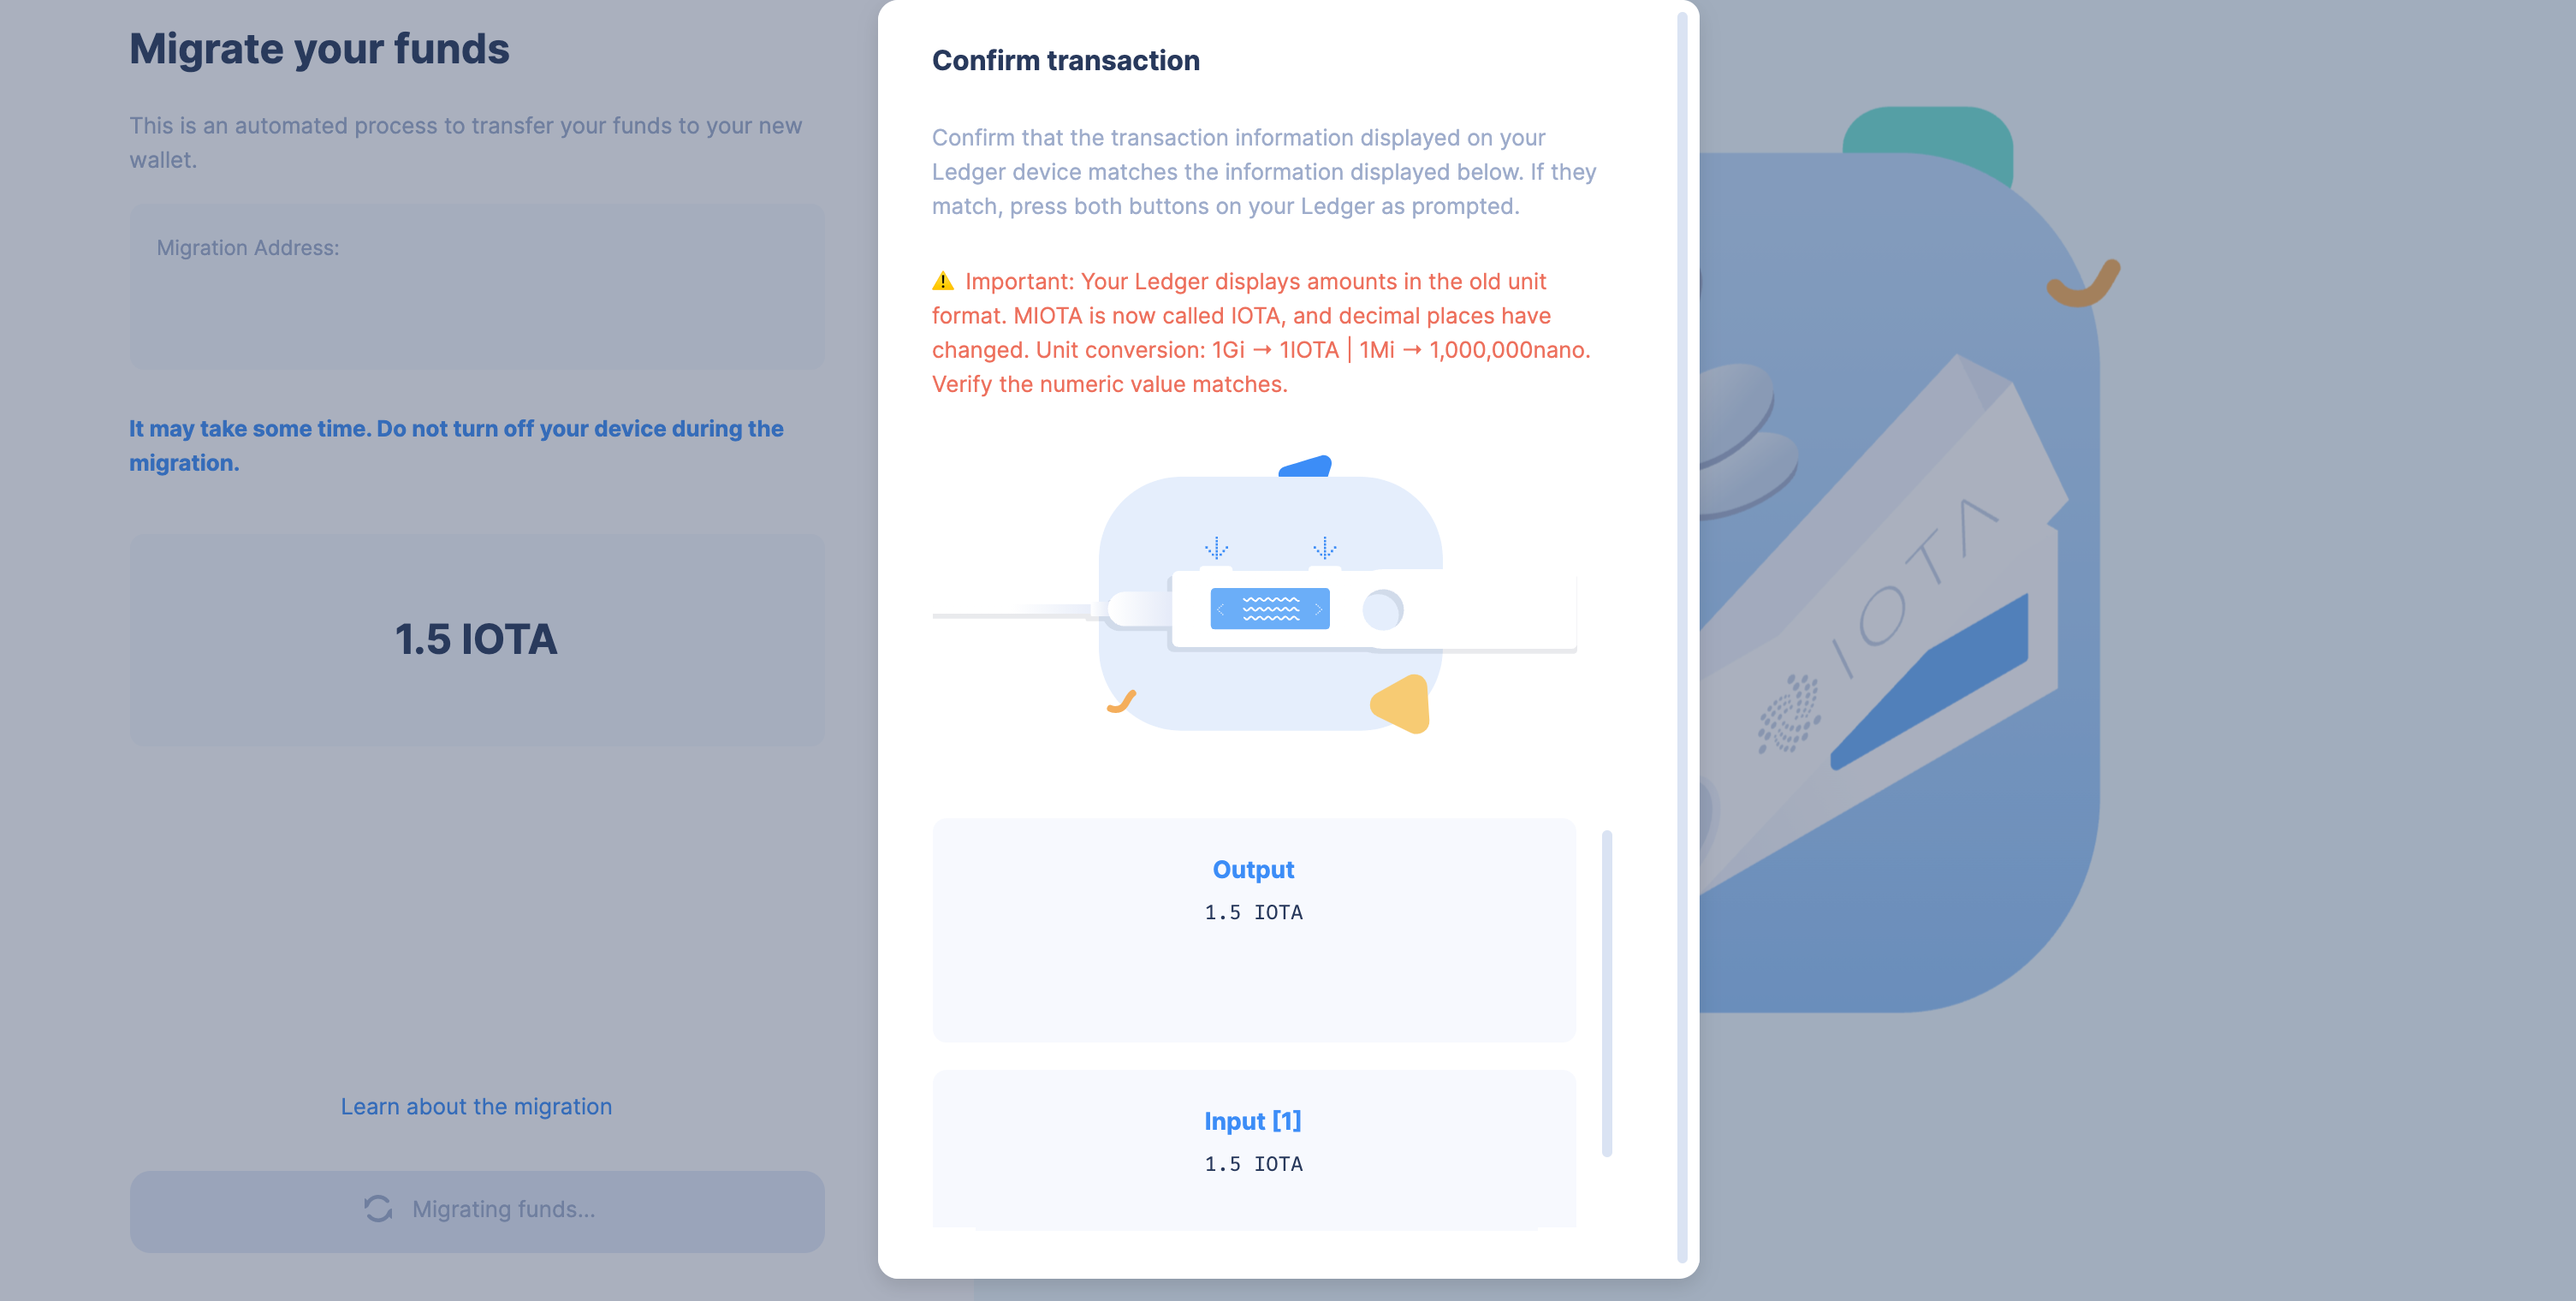
In this overview you can check everything again. Click on "Begin Migration" to start the migration.

Now check your ledger device and confirm the transaction there. Make sure the tool and the ledger device show the same details before confirming.
In this overview you can check everything again. Click on "Begin Migration" to start the migration.
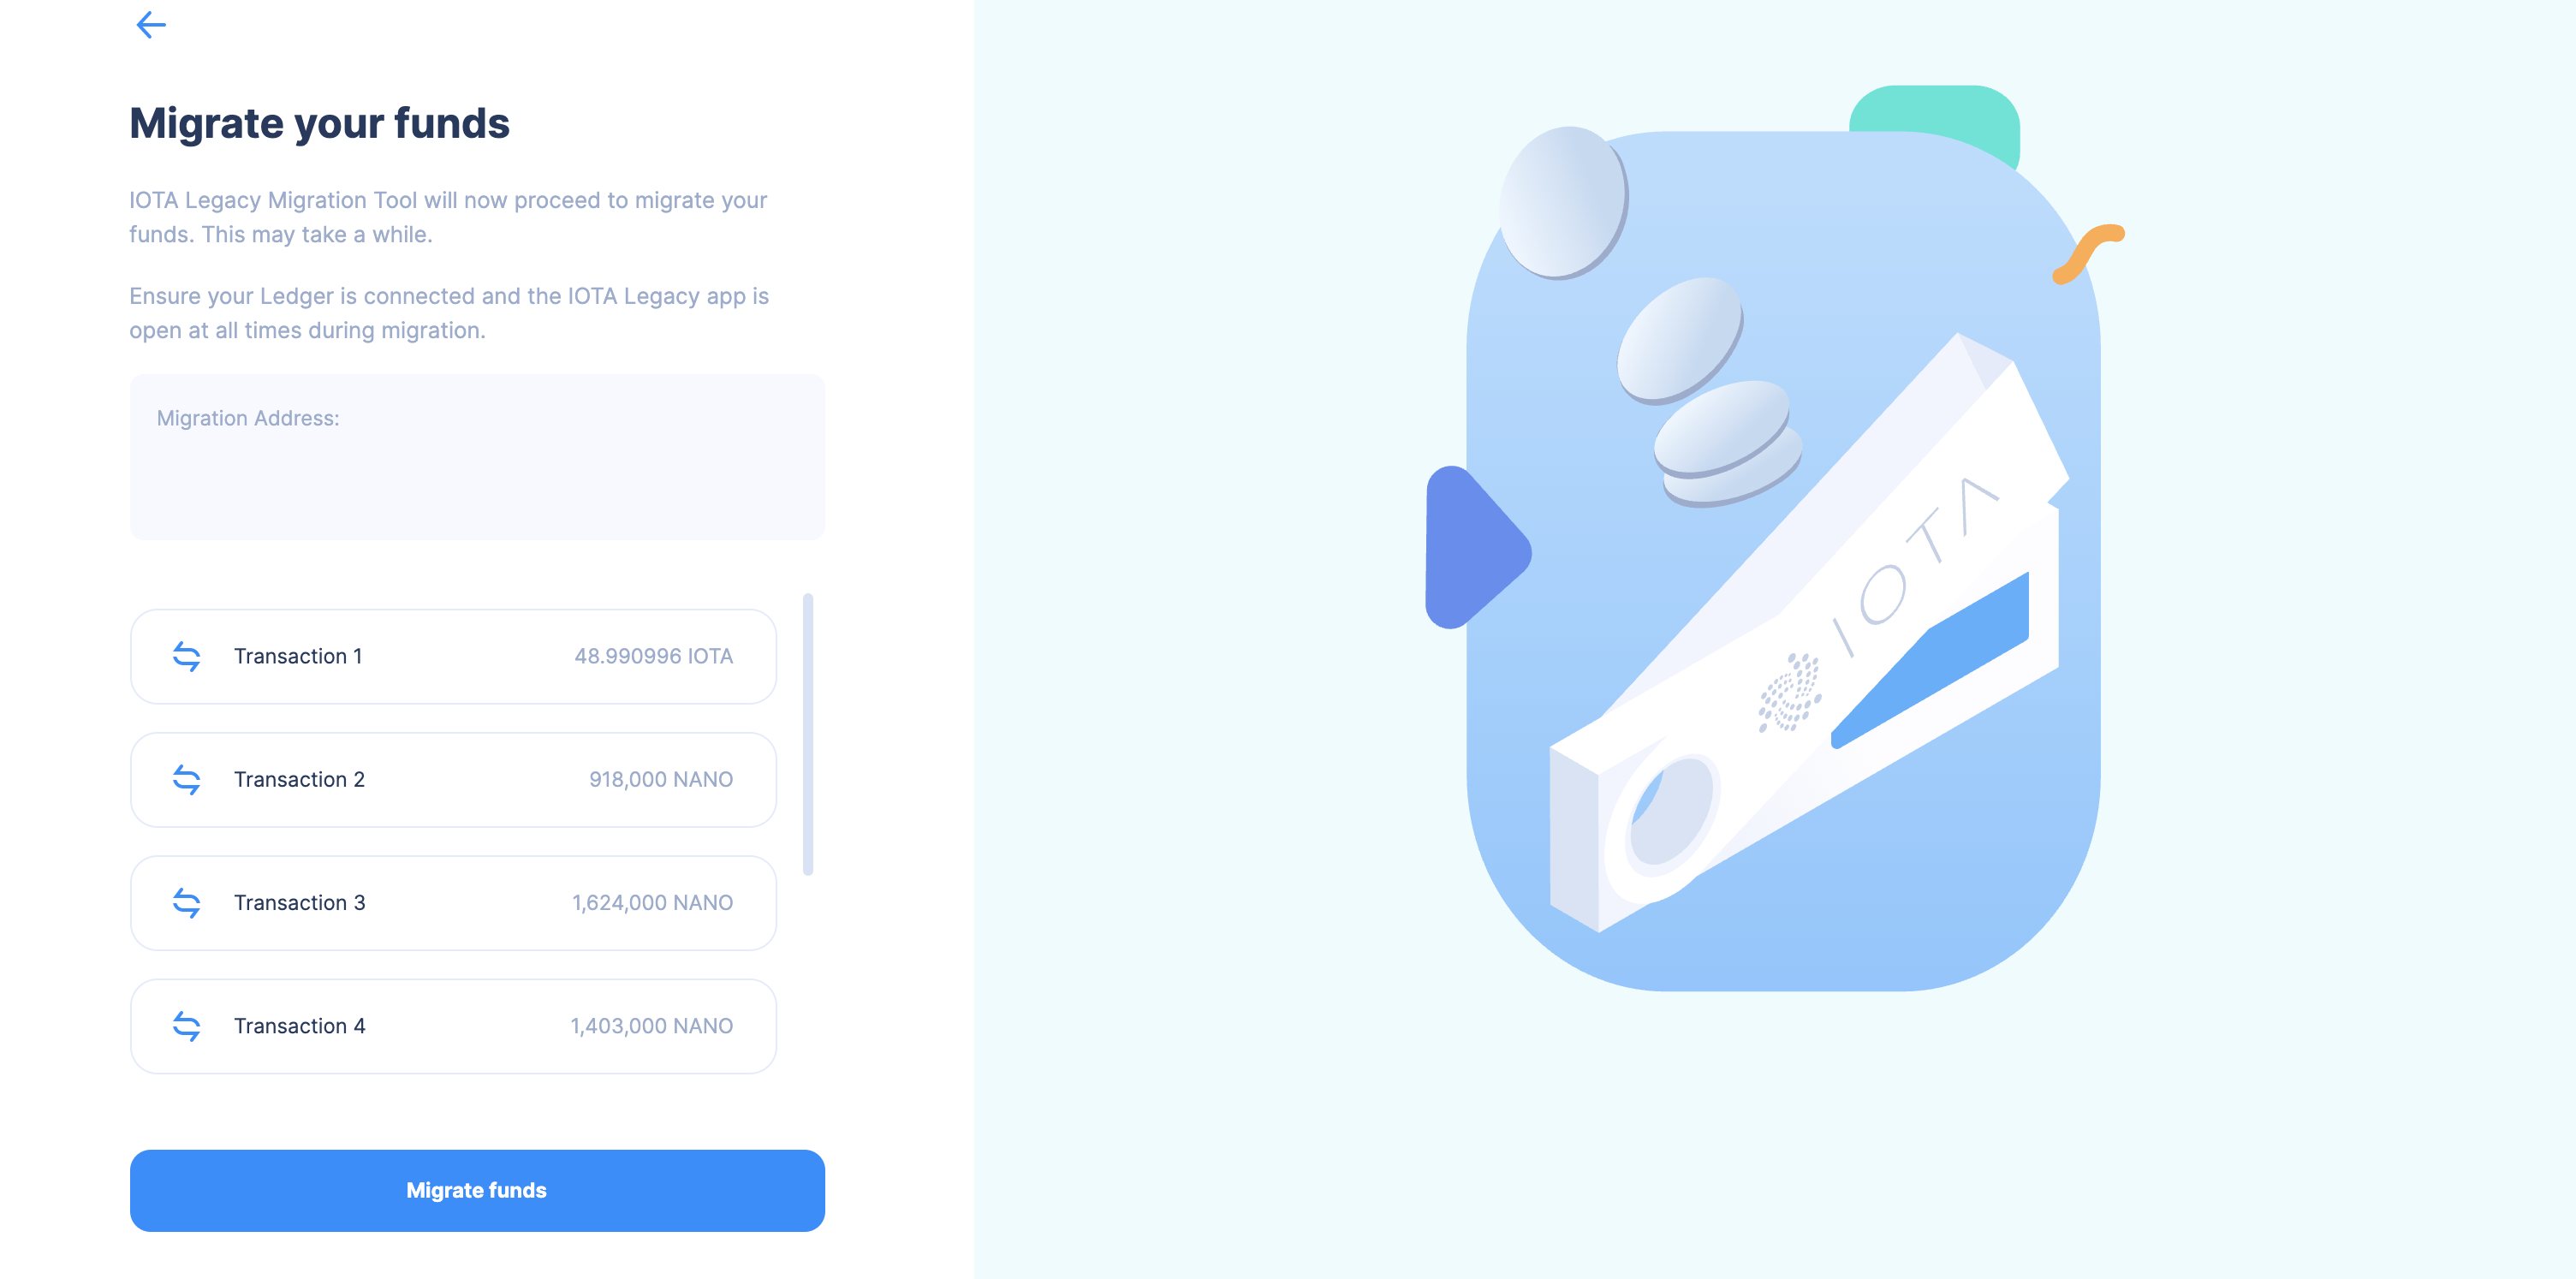
The tool will show you a list of all the transactions that have to be made. Click on "Migrate funds" to start the migration.
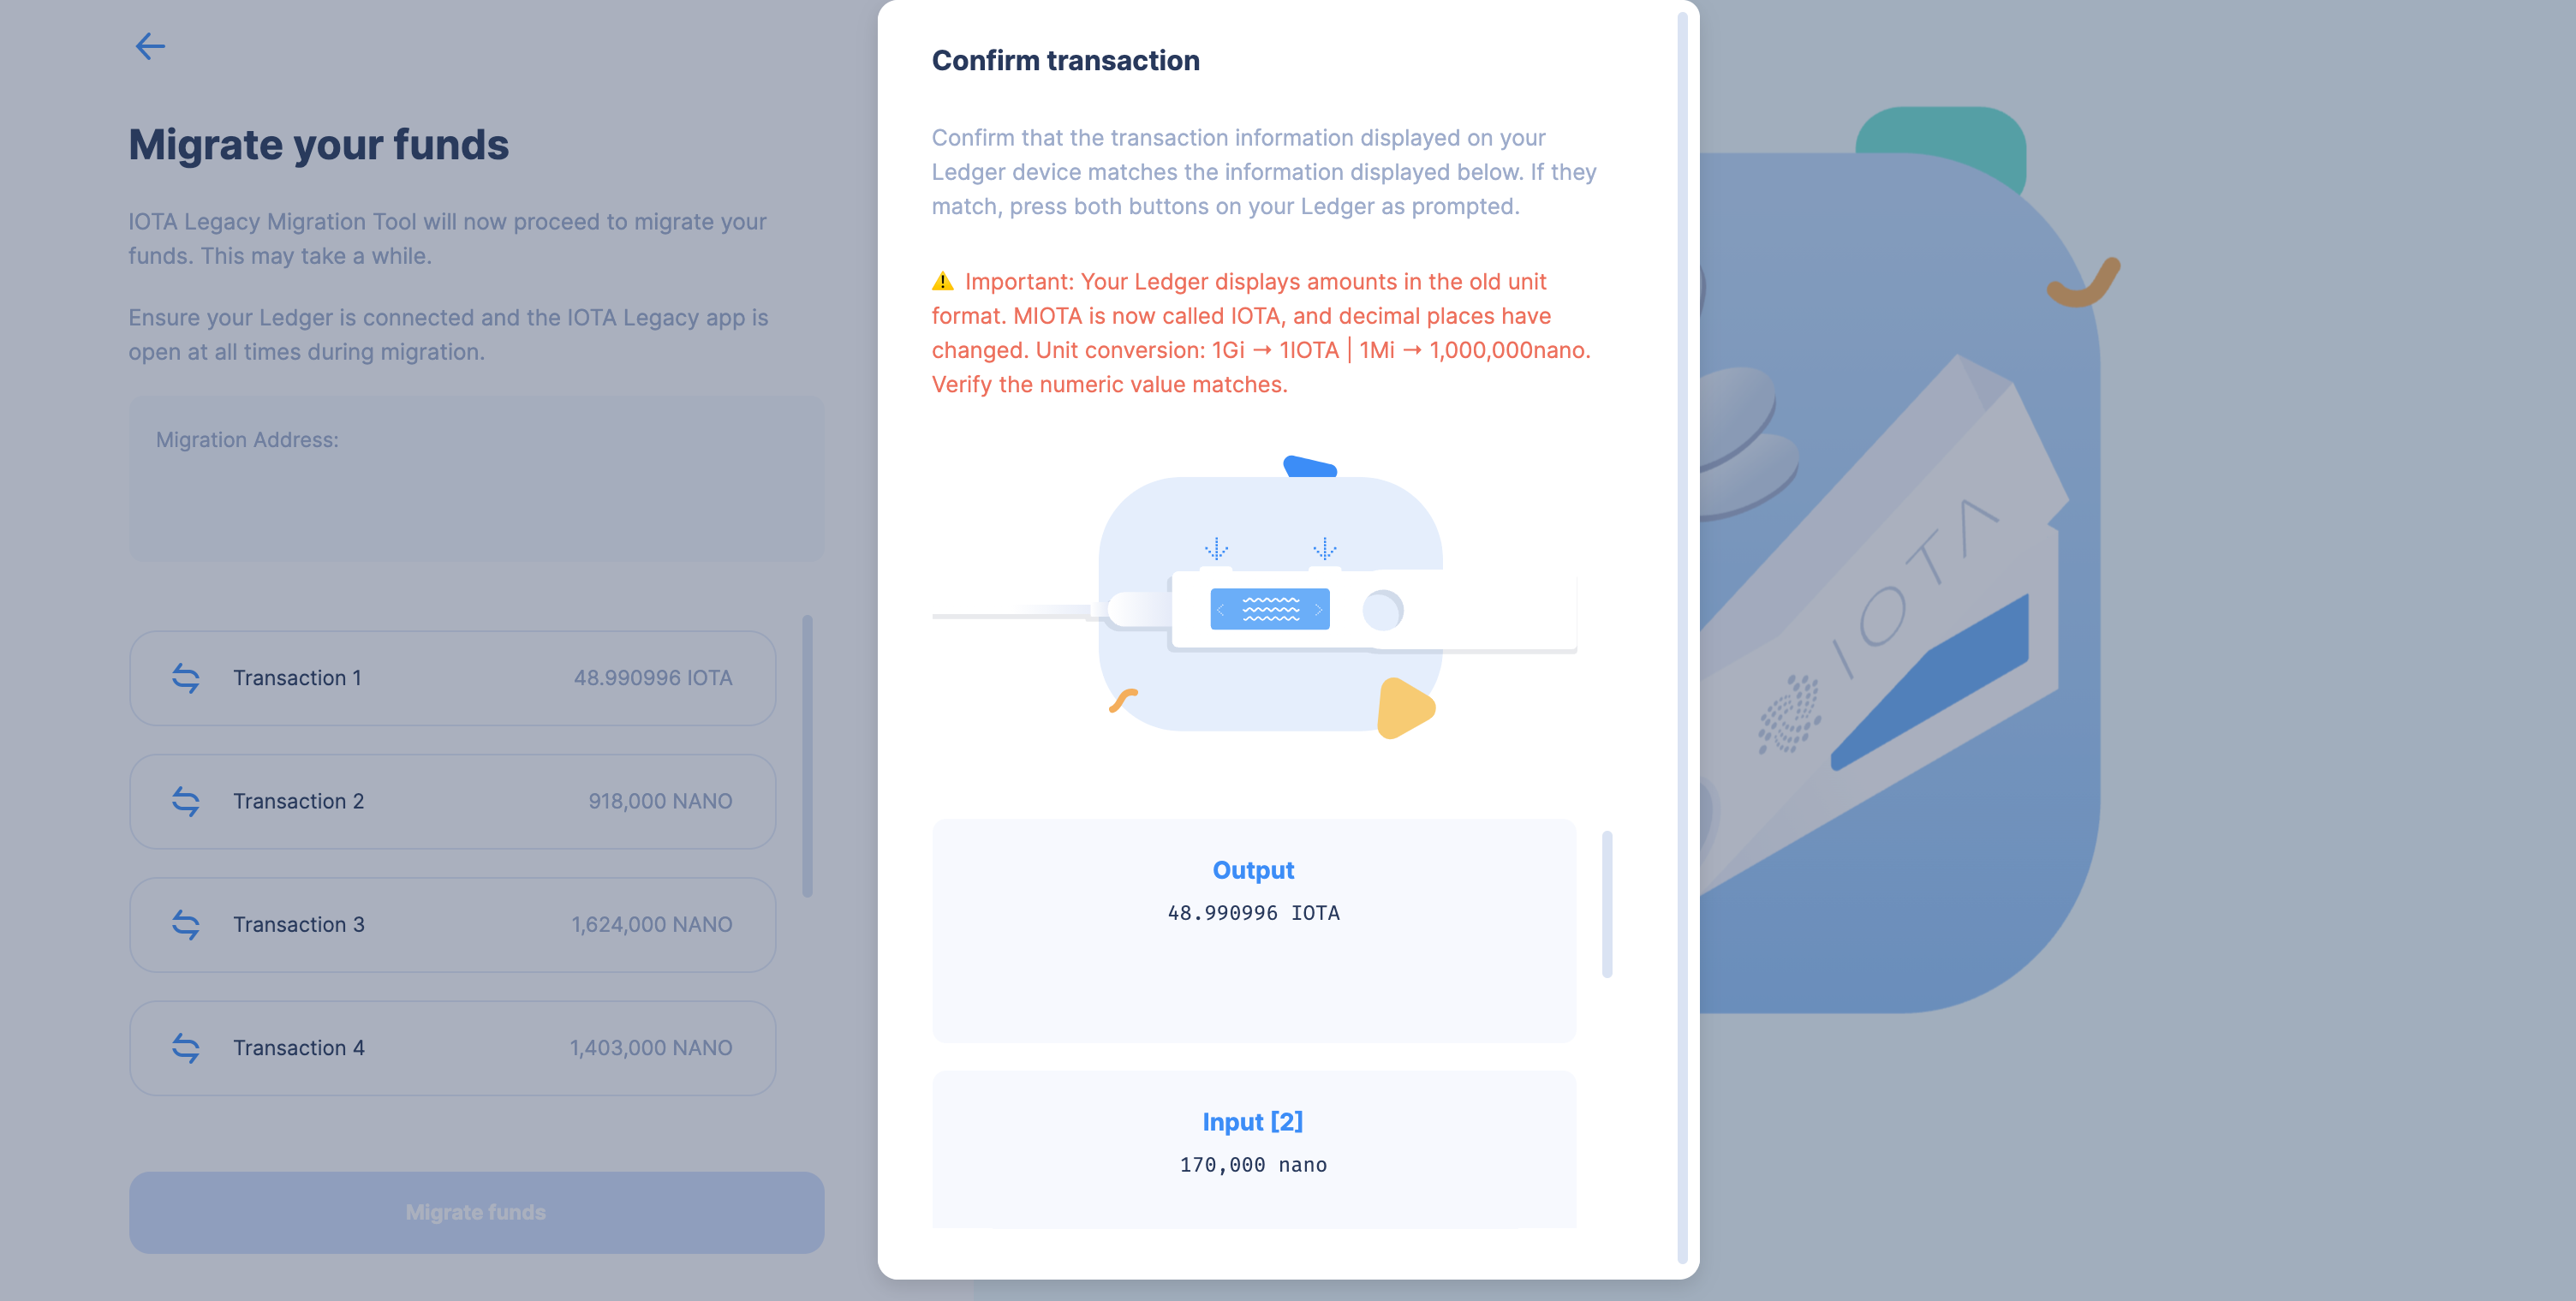
 Now you will confirm the transactions one by one on your ledger device. Make sure the tool and the ledger device show the same details before confirming each transaction.
The tool will let you monitor the progress of each individual transaction.
Now you will confirm the transactions one by one on your ledger device. Make sure the tool and the ledger device show the same details before confirming each transaction.
The tool will let you monitor the progress of each individual transaction.
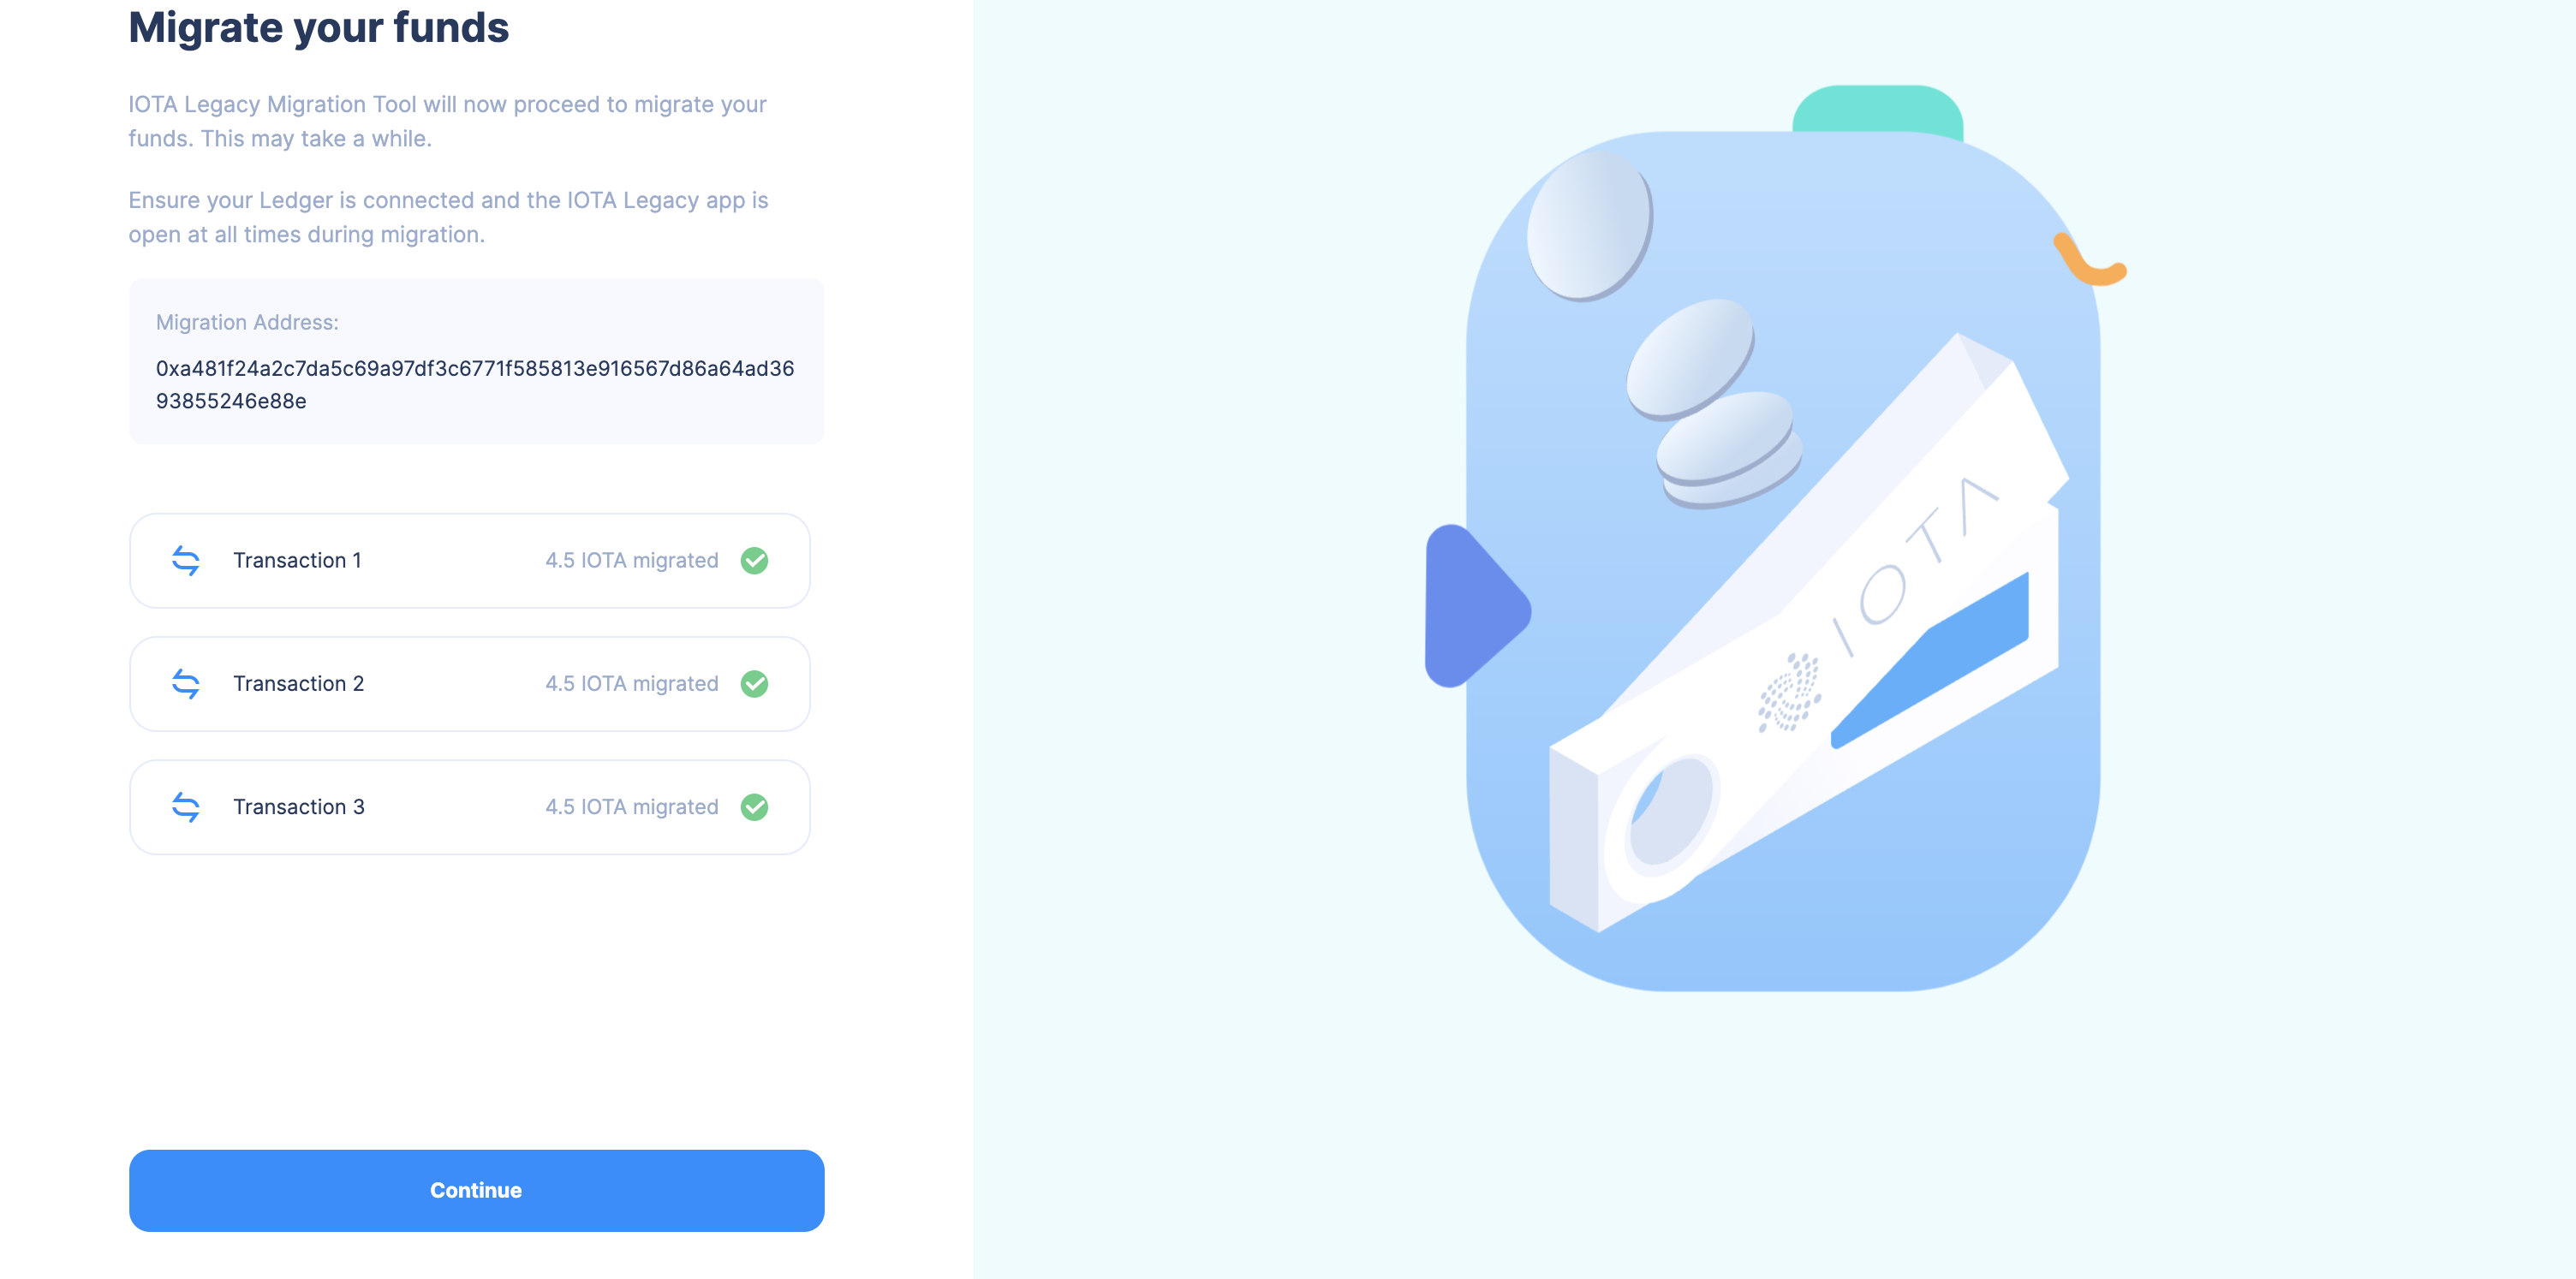
 On the next screen, you can check the success of each individual transaction and press continue.
- Your funds should now be migrated and you can export the logs or check the transaction on the Explorer.
